

Last updated October 31, 2026
 Wrought iron
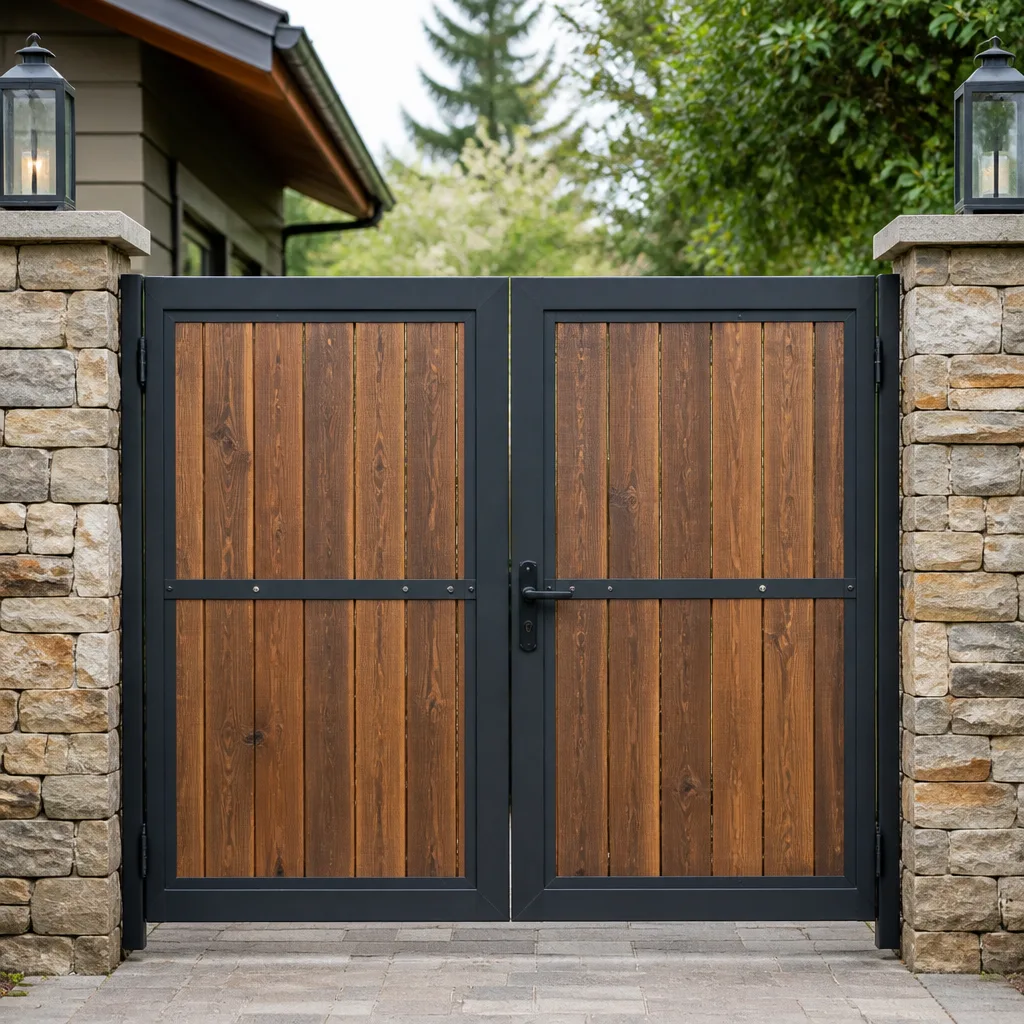 Wood & steel frame
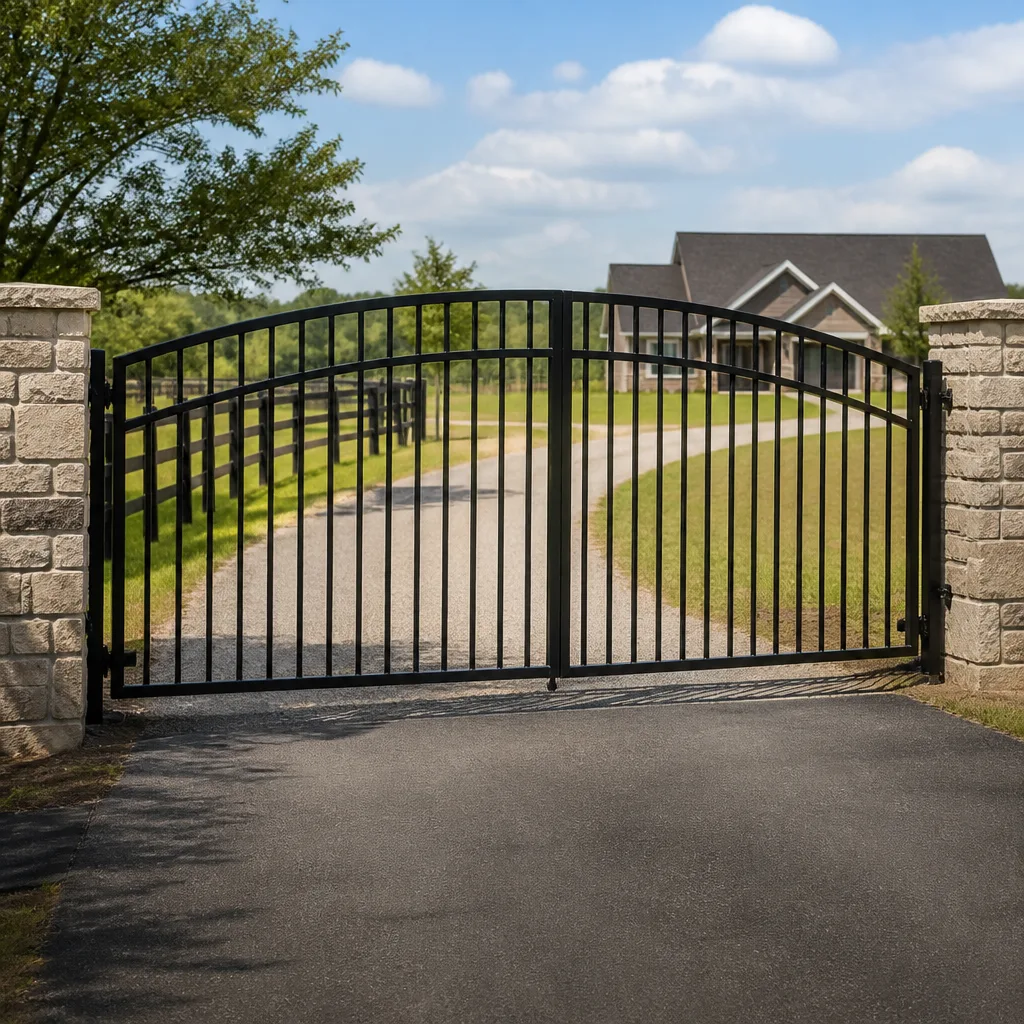 Farm & ranch
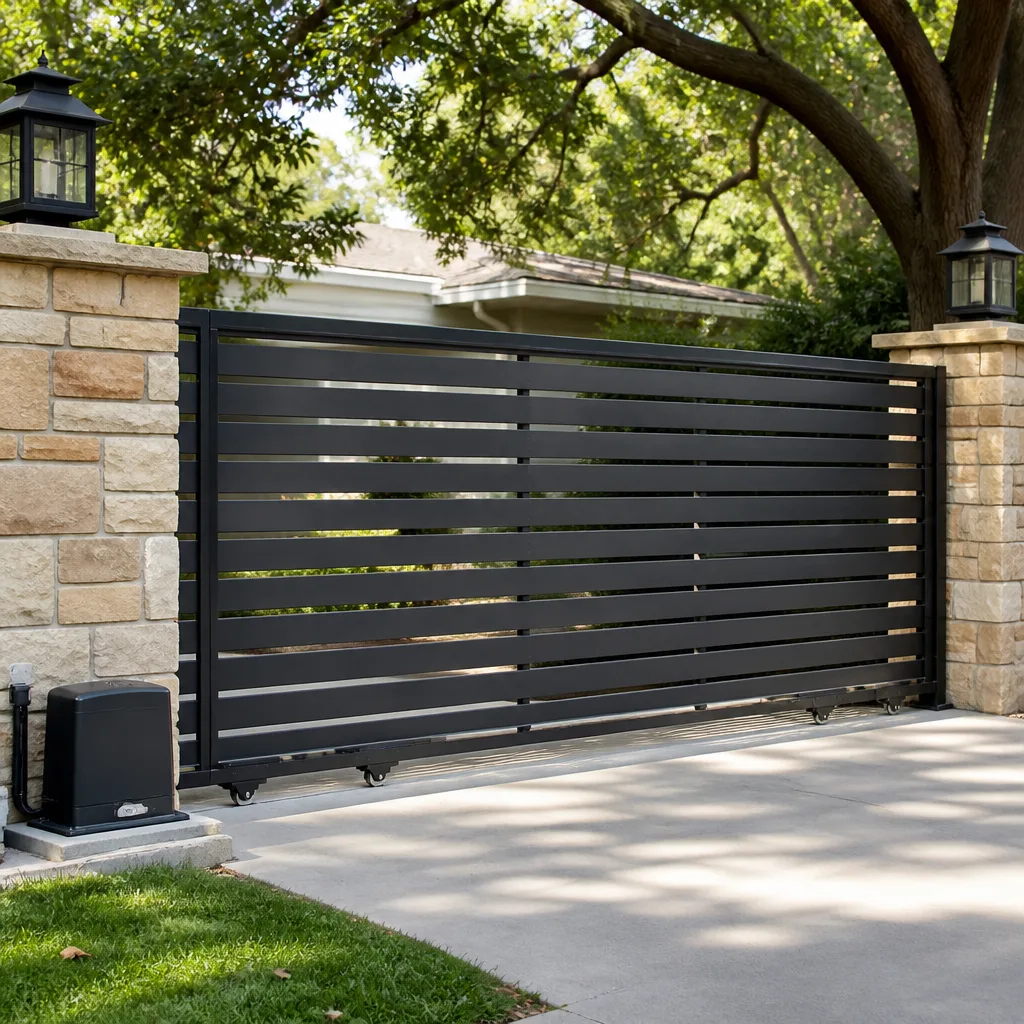 Sliding driveway gates
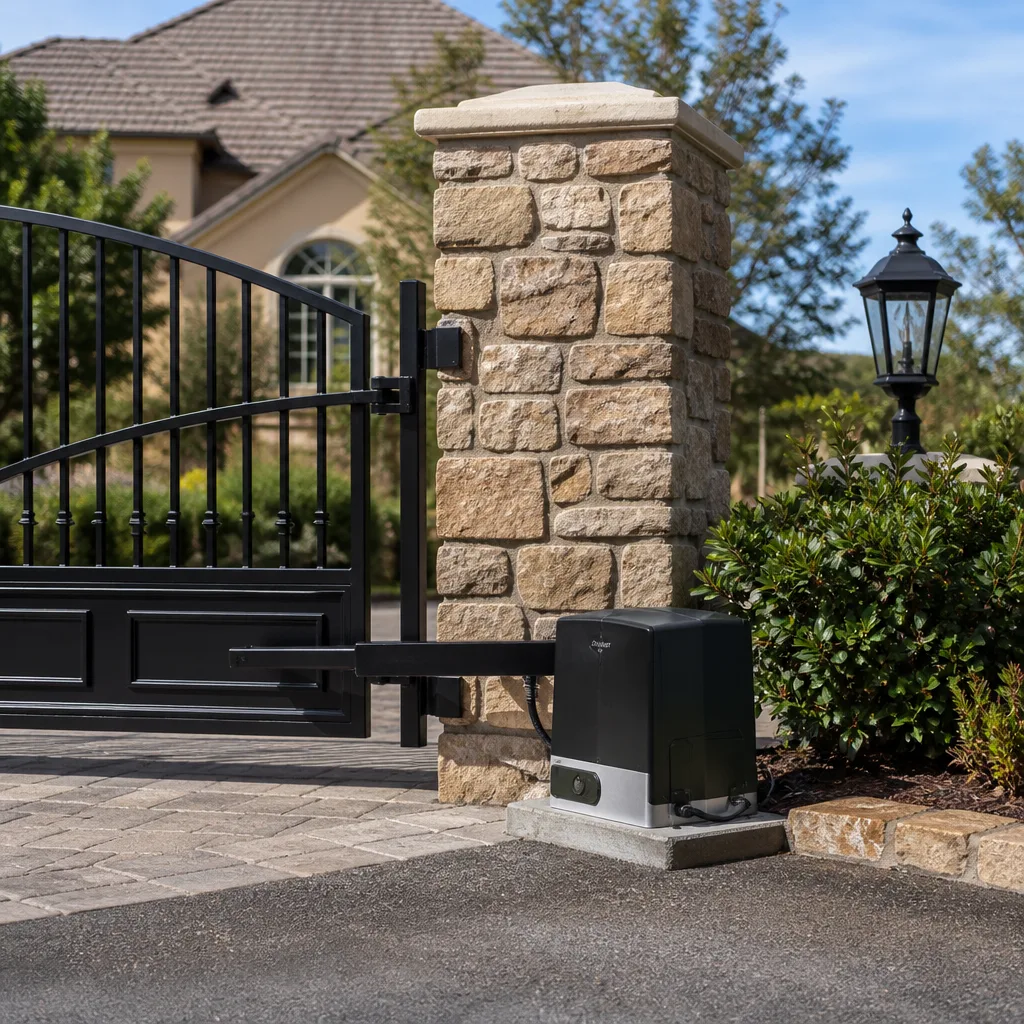 LiftMaster operators
Free on-site gate assessment - hinges, posts, and your LiftMaster or Nice gate operator checked before anything is quoted
The assessment is free and the quote is the invoice.
Get your free estimateGate Repair Maintenance Checklist for San Diego Homeowners
The single most skipped maintenance task on a San Diego gate is lubricating the hinge pivot point, not the visible arm. That oversight is responsible for the majority of swing gate motor burnouts we see across residential properties in San Diego. The motor works harder, draws more current, and eventually fails because a $6 can of lubricant never reached the one spot that matters most. This guide replaces checkbox theater with a task-by-task protocol tied to real failure data, so you maintain what actually breaks rather than what’s easy to inspect. For deeper help, see Gate Repair Troubleshooting: Common Problems and How to Fix Them.
Quick Answer
A practical San Diego gate maintenance checklist means monthly lubrication of hinge pivot points and wheel bearings, quarterly cleaning of tracks and photo-eye sensors, biannual application of a UV-protectant to powder-coated surfaces, and annual inspection of hinges, weld points, concrete anchors, and battery backups. The specific products and timing matter because San Diego’s coastal humidity, intense UV exposure, and seasonal Santa Ana winds create a failure profile different from inland or colder climates.
Styles & brands we work with
Table of Contents
- Monthly Maintenance Tasks
- Quarterly Maintenance Tasks
- Annual Maintenance Tasks
- Inspecting Your Gate Loop Detectors
- Battery Backup Maintenance for San Diego Outages
- Surface Rust vs. Structural Corrosion on Weld Points
- The Post-Santa-Ana Wind Inspection Protocol
- Common Mistakes to Avoid
- When to Call a Professional
- Frequently Asked Questions
Monthly Maintenance Tasks
Monthly gate maintenance takes about 15 minutes and prevents roughly 70% of the repair calls we run in San Diego. The goal is not deep inspection but consistent lubrication and a quick visual sweep. What you’re really doing is keeping the moving parts moving without friction, because friction is what kills motors and bends brackets.
- Lubricate the hinge pivot points. This is the load-bearing joint where the gate arm attaches to the post. Use a white lithium grease or a heavy-duty silicone spray. Do not use WD-40 here: it’s a solvent, not a long-term lubricant, and it will wash out within weeks. Spray into the top and bottom of the pivot pin until you see a thin bead of grease, then swing the gate through its full range twice to work it in.
- Lubricate wheel bearings and track rollers on slide gates. For slide gates, the rollers under the gate carry the entire weight. A dry roller creates flat spots and causes the gate to shudder mid-travel. Use a lithium-based grease on the roller bearings and a light silicone on the track itself if the track is exposed.
- Check the gate path for debris. San Diego yards produce leaves, eucalyptus bark, and palm fronds year-round. Even a small branch wedged in a slide gate track can trip the safety reverse or burn out a motor. Clear anything within 12 inches of the gate’s full travel path.
- Test the manual release. Every electric gate operator has a manual disconnect, usually a pull cord or keyed release. Pull it once a month and confirm you can push the gate open by hand. If it binds or drags when disengaged, the problem is mechanical, not electrical, and you’ve just caught it early.
- Listen while the gate cycles. Stand next to the motor while someone opens and closes the gate. A healthy operator hums. Grinding, squealing, or a rhythmic thunk means something is wearing. Write it down and watch whether it worsens over the next cycle or two.
For automated gates using a Linear, Viking, or Ghost Controls operator, the same monthly routine applies. The operator brand doesn’t change what friction does to the mechanical components. If anything, the newer direct-drive motors from those brands mask early strain better than older units, which is exactly why the lubrication step matters so much.
Quarterly Maintenance Tasks
Every three months, add a deeper layer to the monthly routine. This is where you’re looking for slow-moving problems: corrosion starting on fasteners, sensor drift, and surface wear that hasn’t yet become a failure.
- Clean photo-eye sensors and reflectors. The photo-eye pair at the base of the gate gets coated with dust, spider webs, and irrigation overspray in San Diego. Wipe both lenses with a dry microfiber cloth, then a damp one. Test by passing your hand through the beam while the gate closes; it should reverse immediately. If it doesn’t, the sensor isn’t the problem, the wiring or alignment is.
- Inspect all exposed fasteners and brackets. Look at the bolts holding the operator to its pad, the hinge brackets to the post, and the post to its concrete base. In coastal neighborhoods like Point Loma or Ocean Beach, salt air accelerates fastener corrosion. If you see white powder or rust blooming around a bolt head, mark it for replacement before it seizes.
- Check the gate’s alignment. A gate that sags an inch today will drag in three months. Open the gate halfway and look at the gap between the gate and the post. It should be even top to bottom. If the latch no longer lines up with its striker plate, the gate has shifted and you’re looking at an impending hinge or post problem.
- Clean and lubricate the chain or belt drive on slide gates. If the operator uses a chain, brush off accumulated grit and apply a chain-specific lubricant that won’t fling. If it’s a belt, wipe it down and check for cracking. San Diego’s dry heat degrades rubber belts faster than most homeowners expect.
- Test the safety reverse pressure sensitivity. Place a 2×4 on its edge in the gate’s closing path and let the gate close into it. The gate should reverse on contact, not on obstruction. If it fights the wood for more than a second, dial up the sensitivity or call a technician. A gate that doesn’t reverse properly is a serious safety hazard for kids and pets.
Annual Maintenance Tasks
Once a year, set aside an hour for the full inspection. This is the maintenance tier where you catch structural problems before they become our Gate Repair services calls or full replacements.
Hinge and Post Inspection
Unbolt nothing. Just look closely. Check the top and bottom hinge welds on the post side and the gate side. In San Diego’s climate, weld points fail before the surrounding metal because welds introduce micro-stresses and different metallurgy. What you’re looking for is a hairline crack running along the edge of the weld bead, often with a small rust line tracing it. If you see that, the hinge needs professional attention now, not next season.
Concrete Anchor Check
The post sits in concrete. Inspect where the post meets the concrete pad. Cracks radiating outward from the post, or a visible gap forming between post and concrete, indicate the post is working loose under load. On a slide gate, check the anchor bolts on the operator pad. A vibrating operator will slowly walk its anchor bolts out of the concrete.
Full Cycle Test Under Load
Run the gate through ten full open-close cycles with the operator connected. Feel the operator housing. Warm is normal. Hot to the touch after ten cycles means the motor is working too hard, usually due to a mechanical bind or a failing capacitor.
Control Board and Wiring Visual
Open the operator cover and look at the control board. You’re checking for corrosion on terminals, signs of scorching, and insect intrusion. San Diego’s mild climate means ants and spiders love a warm control enclosure. Blow out dust with compressed air, not a vacuum, and never touch board components with bare fingers.
Battery Backup Functional Test
If your operator has battery backup, simulate an outage by tripping the breaker that feeds the gate. Run the gate on battery alone for three cycles. If the gate moves sluggishly or the battery indicator drops dramatically, it’s time for a replacement battery. More detailed battery maintenance is covered below.
Inspecting Your Gate Loop Detectors
Loop detectors are the buried wire sensors under the driveway that tell the gate when a vehicle is present. Most San Diego homeowners don’t know they have them because they’re invisible. The system is simple: a loop detector in the operator emits a frequency into the buried wire loop, and when a metal vehicle passes over, the frequency shifts and the detector opens or holds the gate. When a loop detector fails, the gate either won’t open for approaching cars or won’t close after a car leaves, which is a security issue, not just an inconvenience.
Here’s the maintenance protocol we recommend for San Diego properties (find more guides & resources on our blog):
- Know your loop zones. Mark where your loops are. You’ll usually have one exit loop just inside the gate and one approach loop about 20 to 30 feet outside on the driveway side. If you’re not sure, your installer’s paperwork should note it.
- Test monthly with a vehicle. Pull a car onto each loop zone and watch the gate behavior. The gate should hold open or open immediately. If response is delayed by several seconds, the detector sensitivity may have drifted. This is a five-minute test.
- Walk the loop perimeter quarterly. Look for new cracks in the driveway surface crossing the loop location. San Diego’s clay soils expand and contract with seasonal moisture, and prolonged drought followed by heavy rain events causes slab movement that can shear the loop wire. A new crack in the saw-cut line where the loop was installed is an early warning.
- Keep metal objects away from the loop area. A metal trash can, a bicycle left on the driveway, or a parked trailer near the loop can ghost-trigger the detector. If your gate behaves erratically and you can’t find a cause, look for metal sitting near the loop before you call anyone.
- Have sensitivity checked annually. A technician with a proper loop tester can verify the detector is operating in its ideal range. Drifting sensitivity is the most common loop problem we see, and it’s a 20-minute fix, not a driveway tear-out.
Battery Backup Maintenance for San Diego Outages
San Diego’s outage profile is different from most of the country. We don’t get ice storms. We get SDG&E rolling outages during high-fire-risk weather, planned maintenance shutdowns, and occasional equipment failures during heat waves. A working battery backup means your gate keeps operating when the grid drops, which matters for security and for simply getting your car out of the driveway. A dead backup battery means your gate becomes a manual-pull gate at the worst moment, and manual mode on a heavy slide gate is not a casual exercise.
Battery specifics depend on your operator. DoorKing, Viking, and Linear operators all support battery backup, but the battery type varies: sealed lead-acid in older units, lithium in newer ones.
- Replace sealed lead-acid batteries every 2 to 3 years, regardless of whether they still hold a charge. In San Diego’s warm climate, heat accelerates lead-acid degradation even when the battery sits in standby.
- Check terminals for corrosion quarterly. White or green fuzz on the battery terminals introduces resistance and reduces backup capacity. Clean with a wire brush and a baking soda and water paste. Disconnect the battery first.
- Check the battery indicator on the operator panel monthly. Most modern operators show a charging status or battery health icon. If it reads low after a full charge cycle, the battery is dying.
- Run a real load test twice a year. Tripping the breaker and running the gate on battery power tells you more than any indicator light. Three full cycles is the minimum test standard.
If your gate doesn’t currently have battery backup and you live in a fire-prone evacuation zone like Scripps Ranch, Rancho Bernardo, or anywhere east of the 15, adding a backup unit is one of the smartest upgrades you can make. During an evacuation order, you don’t want to be outside with a manual release key while smoke is moving in.
Surface Rust vs. Structural Corrosion on Weld Points
San Diego’s corrosion profile varies dramatically by neighborhood. A gate in Carlsbad or Del Mar, within a mile of salt water, corrodes differently than a gate in El Cajon or Santee. But in both cases, the first place you’ll see problems is the weld points, because welds are where the metal’s protective zinc layer was burned off during fabrication.
Surface rust is what you can treat yourself. It appears as orange-brown discoloration on flat surfaces, at the base of the gate near the ground, or around bolt heads. It hasn’t pitted the metal. Here’s the treatment sequence:
- Wire-brush the rusted area to remove loose scale.
- Wipe with mineral spirits and let dry.
- Apply a rust converter or rust-inhibiting primer. Products like Rust-Oleum Rust Reformer work well on gate steel.
- Top-coat with a paint matched to the original finish. For powder-coated gates, a color-matched automotive touch-up paint is the closest available substitute.
- For ongoing protection within five miles of the coast, apply a marine-grade wax or corrosion inhibitor like Boeshield T-9 twice a year.
Structural corrosion is different. It’s not something you treat with a wire brush. Here’s what structural corrosion looks like:
- Metal flaking away in layers at the weld joint, revealing deep pitting.
- A rust line that follows the weld bead and widens into a visible crack.
- Swelling or delamination at the joint where two metal pieces meet.
- A hinge pin that has lost visible metal diameter, so the gate has a small but noticeable drop when opened.
If you see any of those, do not grind it down and paint over it. A compromised weld on a swing gate hinge is a safety problem: the gate’s entire weight hangs on two or three weld points. This is a job for a professional who can weld the joint properly or replace the hinge assembly. A gate falling off its hinges is a hospital visit and a liability claim, not a maintenance project.
The Post-Santa-Ana Wind Inspection Protocol
Santa Ana winds routinely hit San Diego with 40 to 60 mph gusts, and they carry debris. Palm fronds, branches, and loose construction material slam into gates and posts. A five-minute post-wind inspection catches damage before it compounds. Here’s the protocol we recommend running within 24 hours after any significant Santa Ana event:
- Clear the gate path completely. Check both sides of the gate, inside the full travel arc. Debris that looks clear of the path can shift when the gate moves.
- Look for new dents or impact marks. A palm frond at speed can dent gate panels. Dents are cosmetic. A bent gate frame or bent track is structural. Flexing the gate panel by hand should not produce memory or popping sounds.
- Check post plumb. Place a level against the hinge post and the latch post. High winds put lateral load on the gate, and the force transfers to the posts. A post that’s drifted even an eighth of an inch off plumb is a sign the concrete footing shifted.
- Run two full cycles and listen. Wind-driven debris can wedge itself in rollers, chains, and hinges in ways that don’t show visually. The gate should move without hesitation or grinding.
- Inspect the operator cover and enclosure. Santa Ana events blow dust and sand into control enclosures. If the cover is loose, sand inside the electronics is a real failure cause within weeks.
After the October 2023 Santa Ana event, we ran this exact protocol at a property in Rancho Peñasquitos and found a tennis-ball-sized rock lodged under the slide gate track. It hadn’t damaged anything yet, but one more open cycle would have ground the rock into the roller bearing.
Common Mistakes to Avoid
- Using WD-40 as a lubricant. WD-40 displaces water and cleans. It does not lubricate under load. What you’re doing is washing away whatever grease was there and replacing it with a film that evaporates within days. Use a proper lithium grease or silicone spray on gate components.
- Skipping the hinge pivot and lubing the visible arm instead. The arm moves because the motor moves it. The pivot is where weight and friction concentrate. If you only lube what you can see without bending over, you’re maintaining the wrong part.
- Painting over rust without treatment. Paint over active rust traps moisture and oxygen against the metal, accelerating corrosion underneath. The rust blooms through within a season. Convert the rust first, then paint.
- Pressure-washing the operator housing. San Diego homeowners love pressure washers. High-pressure water forces past operator housing gaskets and into control boards. Wash the gate panel by hand or with low-pressure hose water, and never aim at the operator.
- Adjusting the gate’s open and close limits without understanding why they drifted. Limit settings drift because something mechanical changed: a stretched chain, a worn gear, a shifting pad. Resetting the limits masks the underlying problem until it fails more dramatically.
- Ignoring a slow gate. A gate that opens 20% slower than it did six months ago is telling you something. Friction, bearing wear, or a failing capacitor. None of those fix themselves, and all of them get more expensive the longer they run.
- Waiting to replace a corroded battery terminal. A corroded terminal doesn’t just reduce backup power; the resistance creates heat, and heat kills control boards. A $12 terminal cleaning is the cheapest insurance on your operator.
When to Call a Professional
Some gate problems are maintenance. Some are repairs that require specialty tools, welding equipment, or diagnostic gear. Here are the clear lines. If a weld point shows cracks or structural corrosion, call a welder or a gate specialist. If the gate trips its breaker repeatedly, the problem is electrical and should be diagnosed by a licensed technician who works on gate operators. If the operator responds intermittently, the control board or loop detector needs bench testing. If your gate has ever closed on a vehicle or person even once, stop using it and call someone. A gate that fails its safety reverse is a serious hazard, and no amount of maintenance fixes that. For San Diego homeowners, a Gate Repair in San Diego specialist can diagnose the problem and quote the fix before any work begins. San Diego Gate Company offers free estimates in San Diego, call (877) 517-5469.
Frequently Asked Questions
Monthly, focusing on the hinge pivot points and wheel bearings with a lithium-based grease. In San Diego’s dry climate, lubricant evaporates and dust accrues faster than in humid regions, so monthly application matters more than in other climates. If your gate is within two miles of the ocean, you may need to lubricate every three weeks because salt air breaks down grease faster.
White lithium grease for hinge pivots and wheel bearings, a heavy-duty silicone spray for track surfaces and slide channels, a rust converter for surface rust treatment, and a marine-grade corrosion inhibitor like Boeshield T-9 if you live within five miles of the coast. Avoid WD-40 for any load-bearing lubrication.
Heat affects several components. Electrical resistance in the motor windings increases as temperature rises. Batteries lose capacity. And metal expands, which can tighten clearances between moving parts. The most common cause we see in San Diego summers is a failing start capacitor that works fine below 80 degrees but struggles when ambient temperatures hit the 90s. A slow gate in summer that recovers in fall is a capacitor warning.
Trip the breaker that powers the gate operator and run the gate on battery alone for three full cycles. The gate should move at full speed. If it moves sluggishly, the battery is weak. If it won’t move at all, the battery has failed. Test this every six months and especially before Santa Ana season.
You skip the operator maintenance: no control board, no battery, no loop detectors. But the mechanical maintenance matters even more because there’s no motor to mask a binding hinge or a drag in the track. A manual gate tells you it needs service by getting harder to move. Pay attention to that change and address it before you’re lifting the gate’s full weight every time you come home.
A basic maintenance visit from a gate specialist in San Diego typically runs $85 to $150 depending on gate size and whether it’s manual or automated. That covers lubrication, adjustment, a full cycle test, and a written condition report. If parts need replacement, those are quoted separately before any work begins. You can also do monthly and quarterly tasks yourself with about $30 in supplies. For a free estimate on maintenance or any gate issue, call San Diego Gate Company home at (877) 517-5469.
The Bottom Line
Gate maintenance in San Diego is about understanding the specific stresses your property faces: UV exposure that degrades finishes and rubber components, coastal salt air that attacks welds and fasteners, Santa Ana winds that drive debris and stress posts, and SDG&E outages that test your battery backup when you can least afford a failure. The core discipline is simple: lubricate monthly, clean and test quarterly, inspect structurally annually, and run specific post-wind and pre-fire-season checks. Fifteen minutes a month prevents most of the repair bills we write. For anything you’re not comfortable doing yourself, or for a professional inspection, San Diego Gate Company handles everything from a broken hinge to a full Electric Gate Repair in San Diego or new Gate Installation in San Diego. Call (877) 517-5469 for a free estimate.
Written by the team at San Diego Gate Company, serving San Diego since 2018.
See the difference
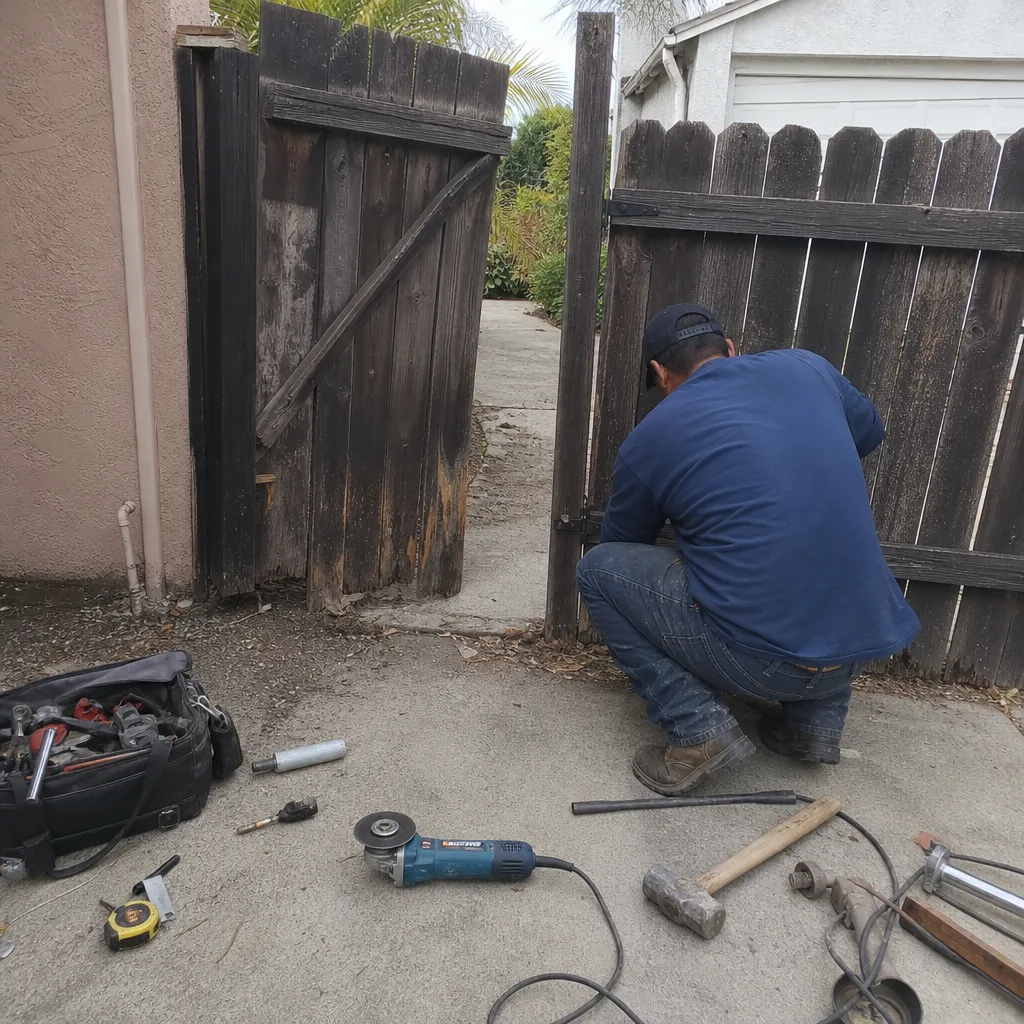 Before
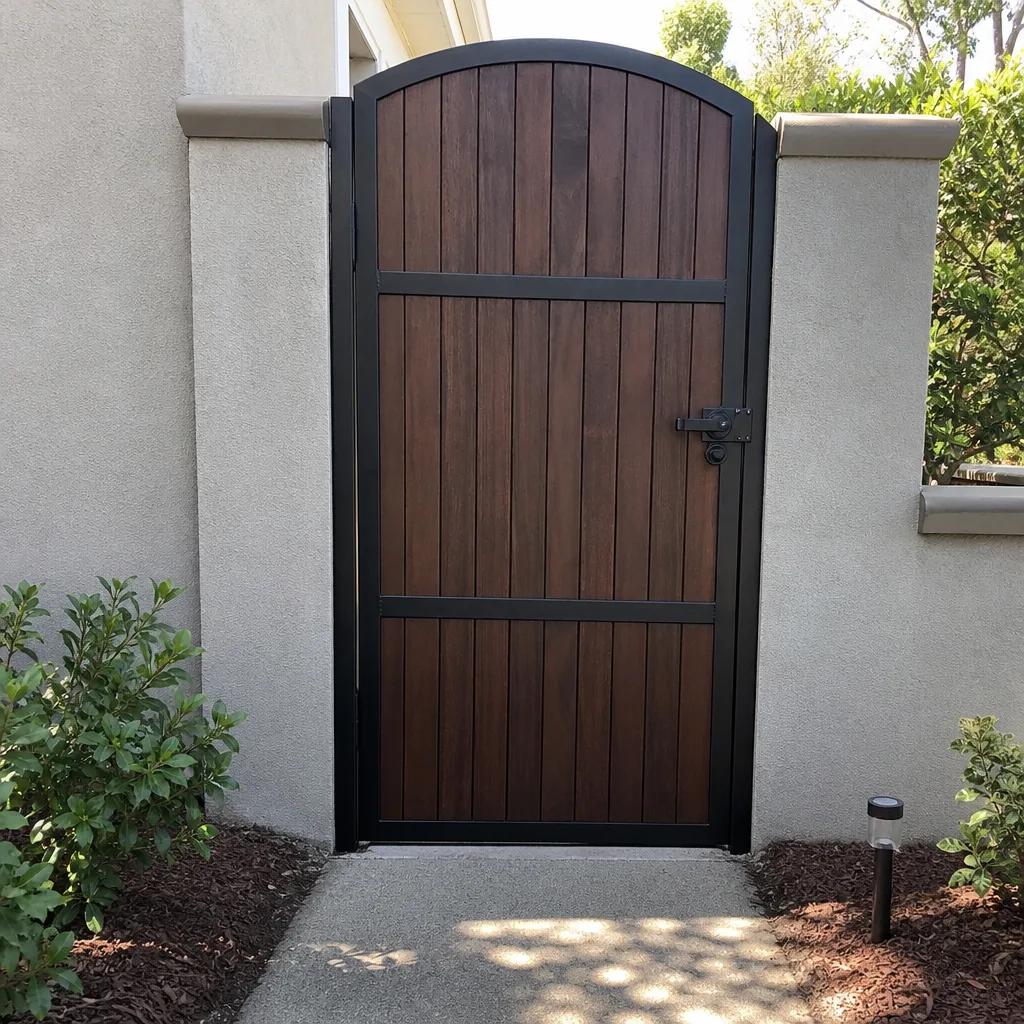 After
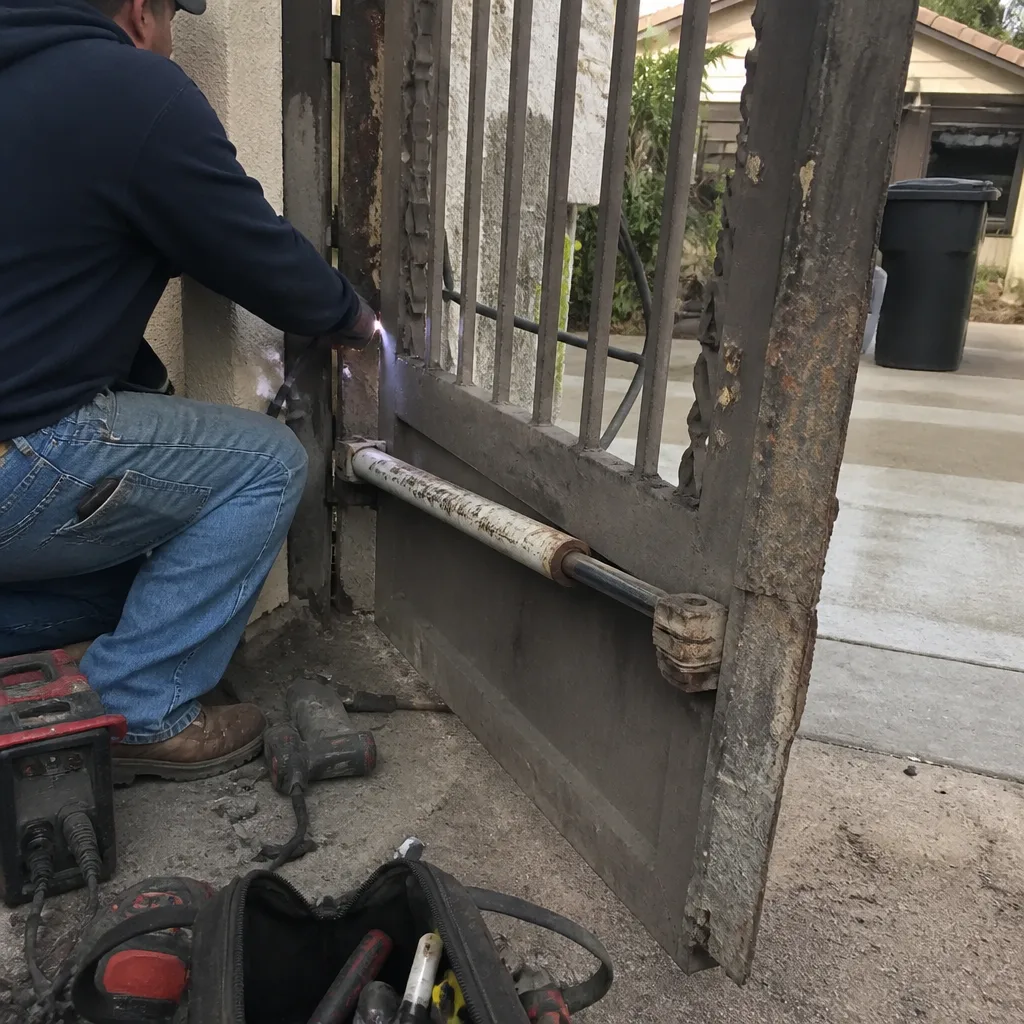 Before
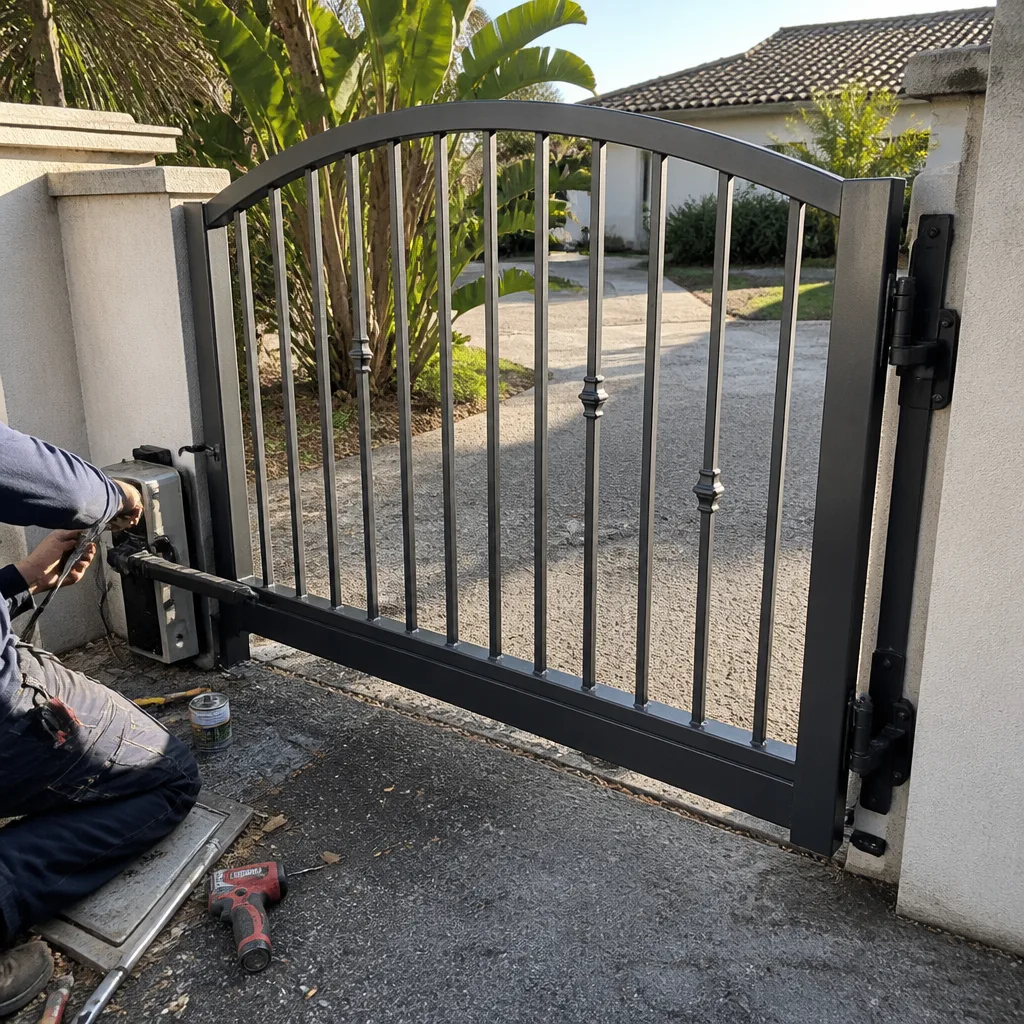 After
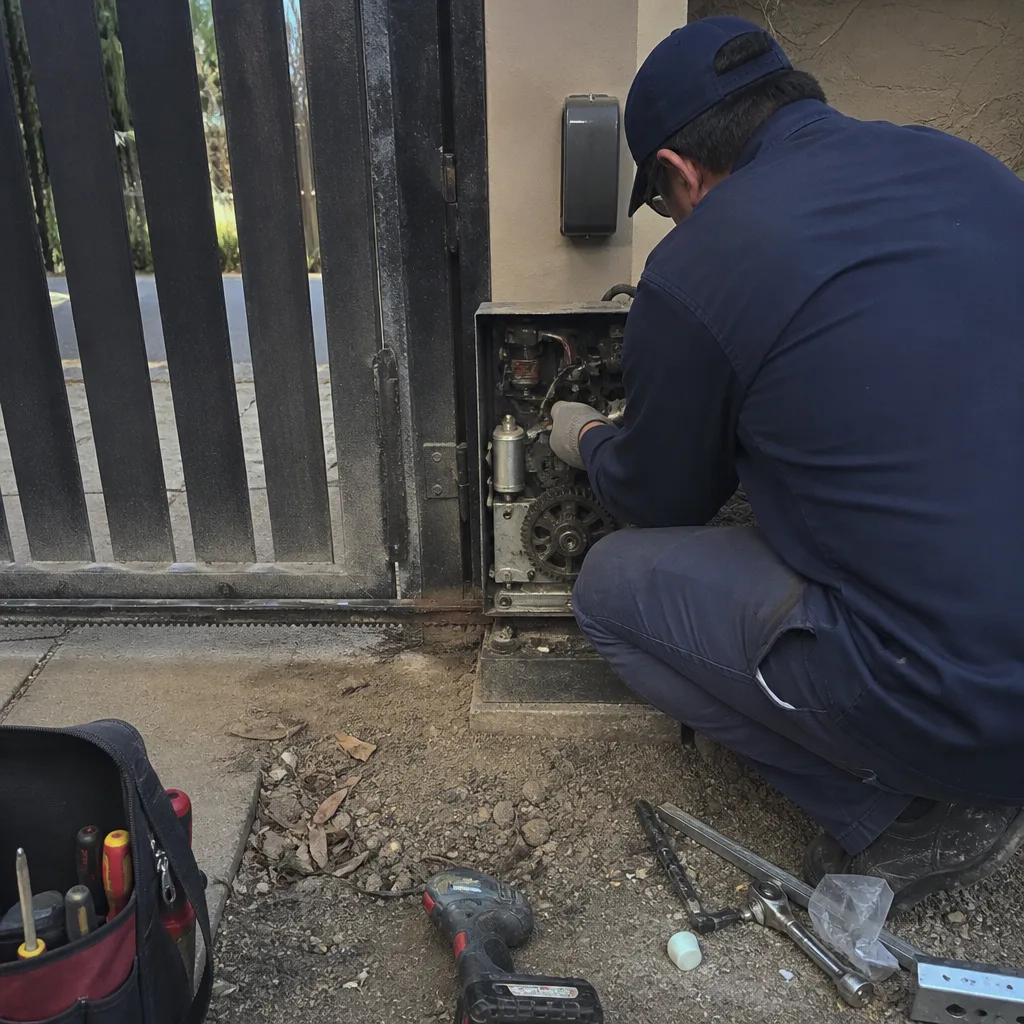 Before
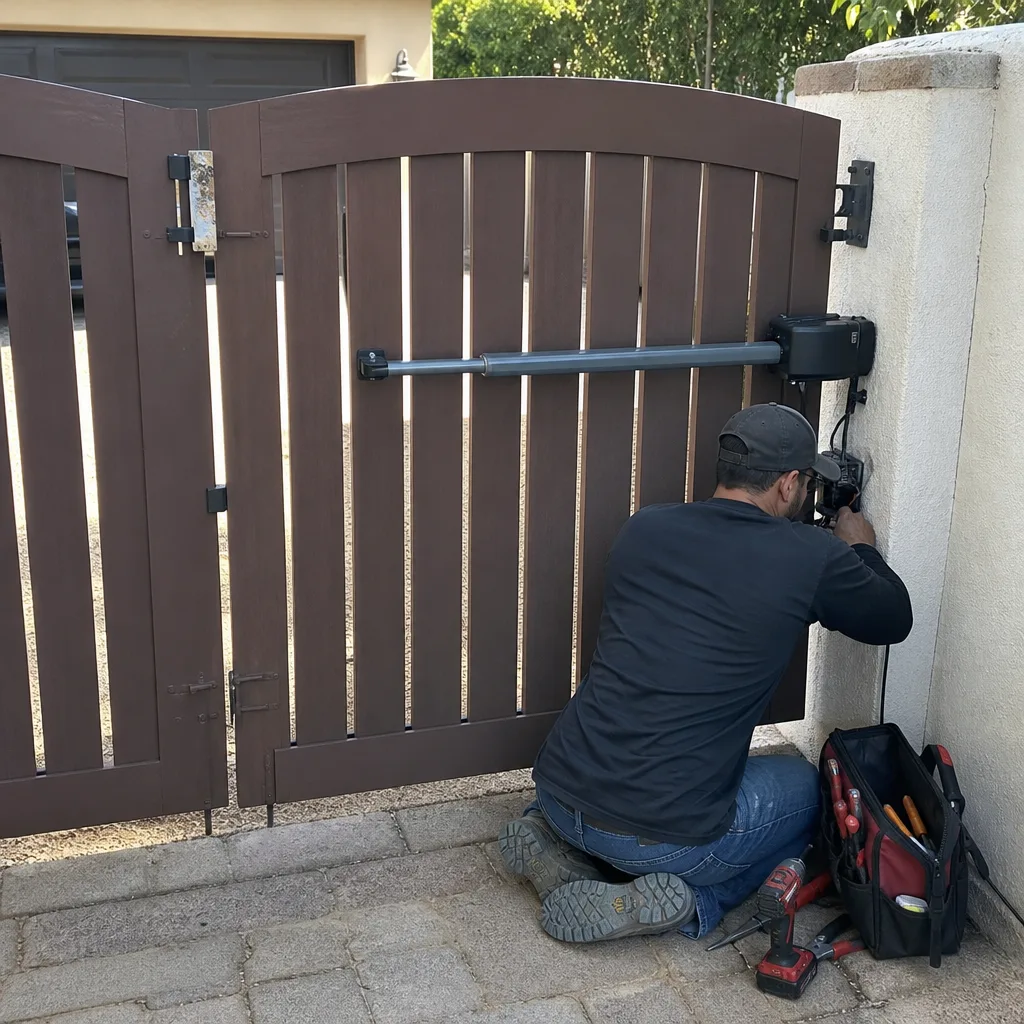 After