

Last updated October 31, 2026
 Wrought iron
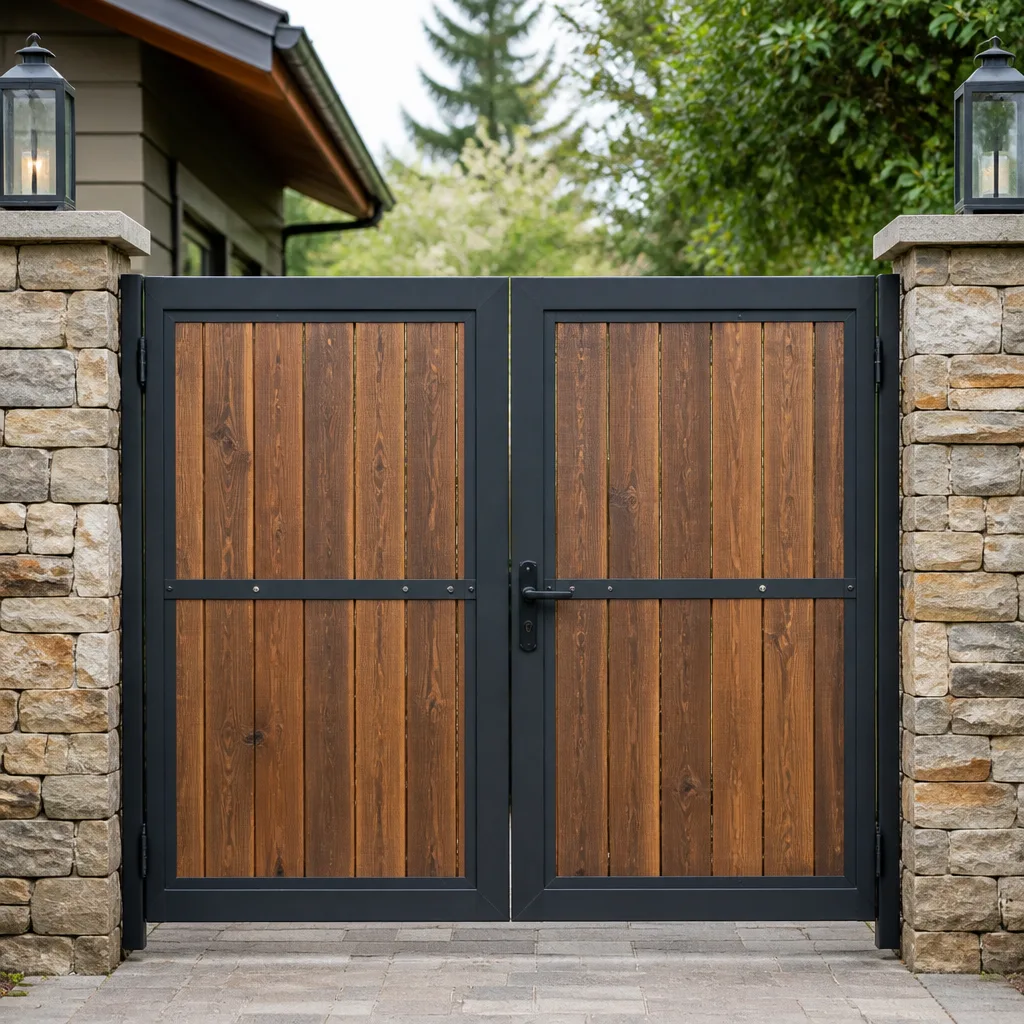 Wood & steel frame
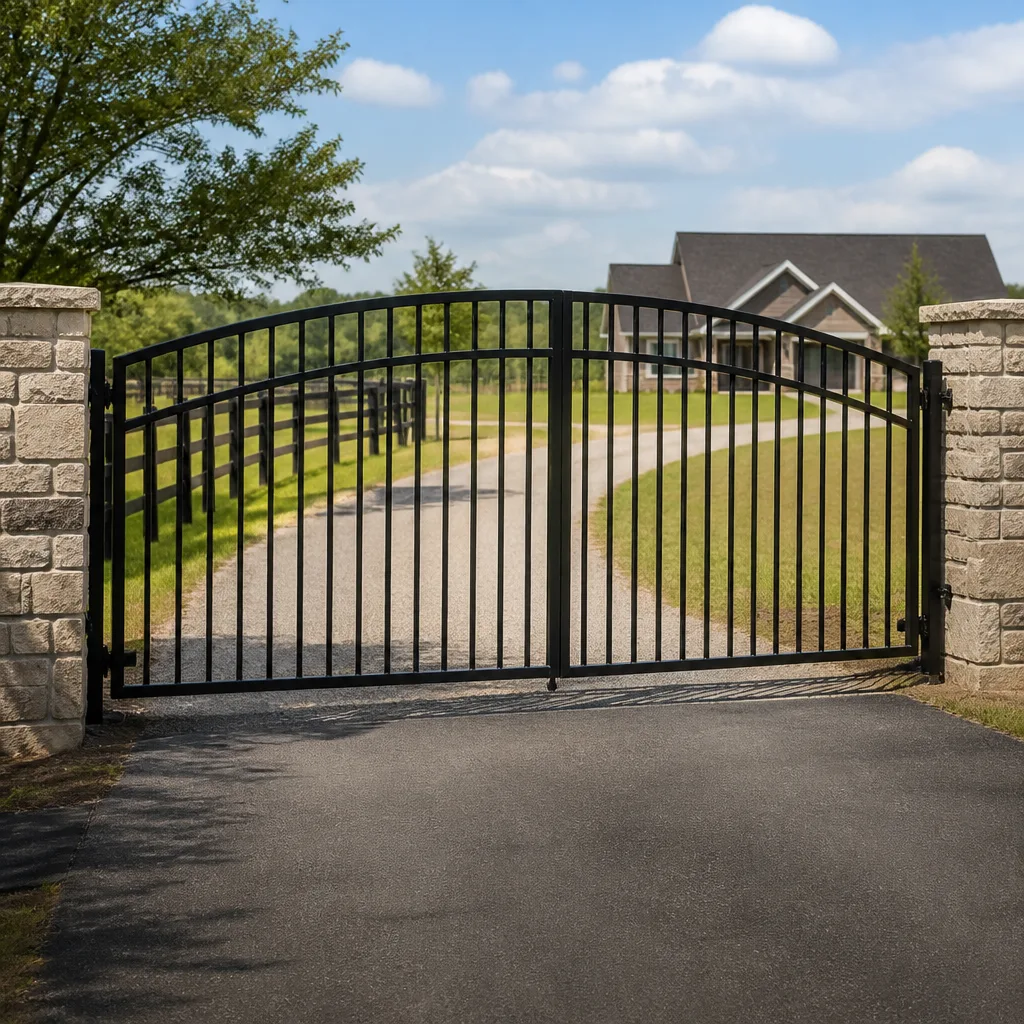 Farm & ranch
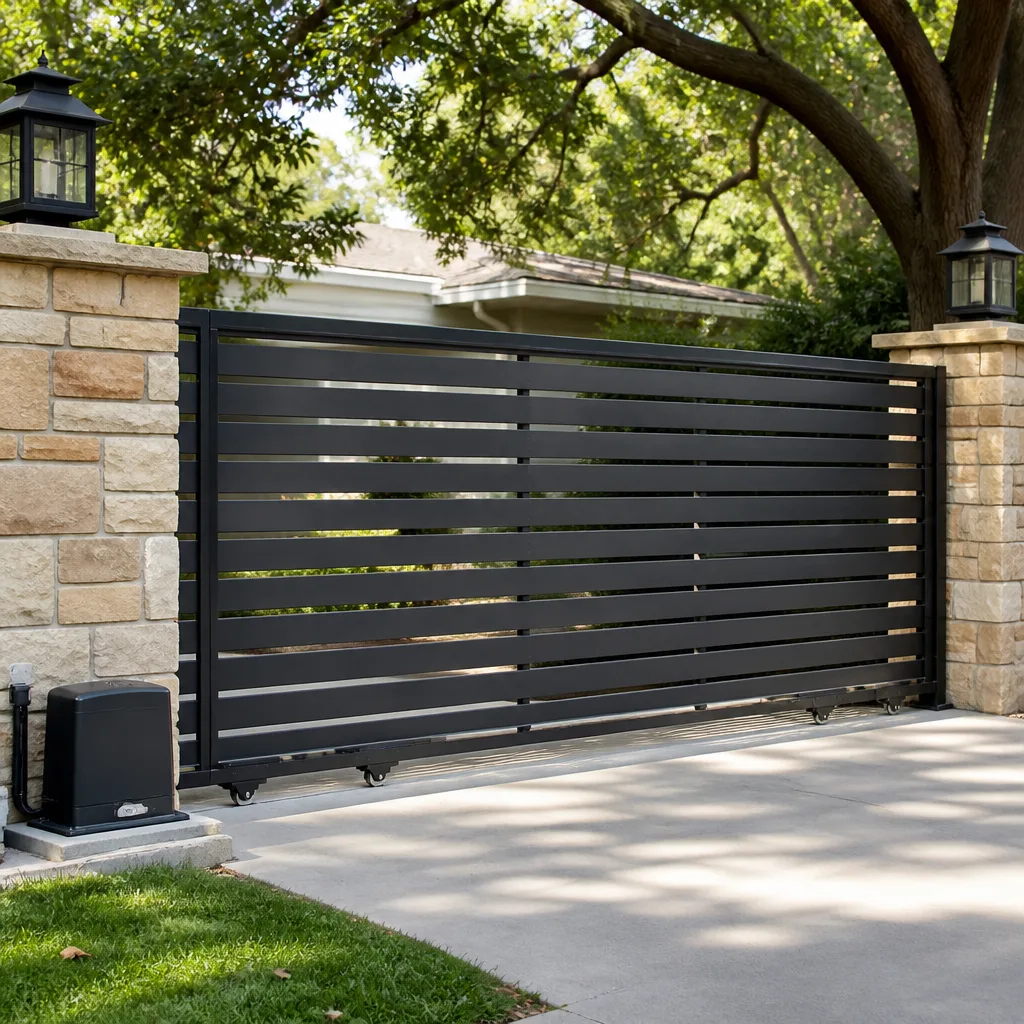 Sliding driveway gates
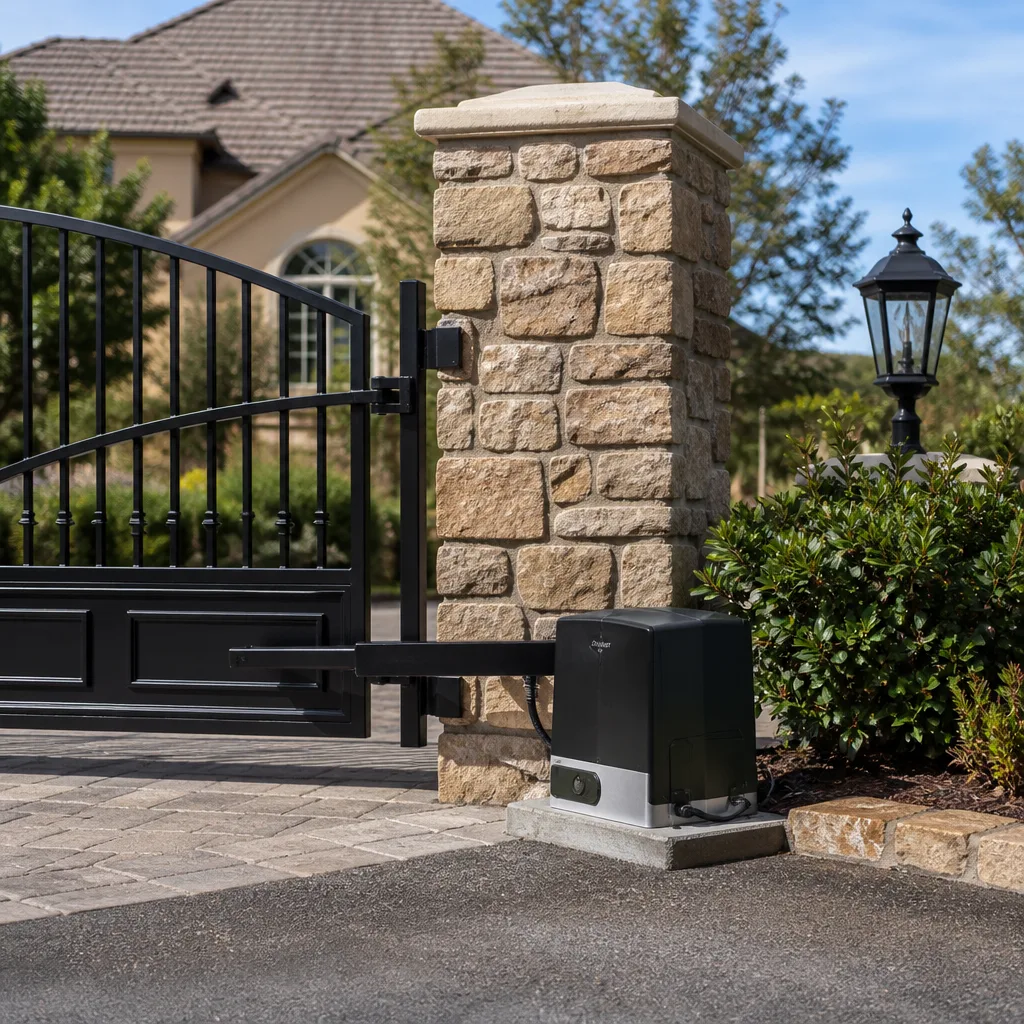 LiftMaster operators
Free on-site gate assessment - hinges, posts, and your LiftMaster or Nice gate operator checked before anything is quoted
The assessment is free and the quote is the invoice.
Get your free estimateDIY vs Professional Gate Repair: The San Diego Homeowner’s Decision Guide
Here’s the reality most gate advice skips: the DIY-versus-pro question is rarely about how handy you are. It’s about which failure types carry hard thresholds, safety liabilities, and legal requirements that make amateur work genuinely risky versus which are straightforward enough that hiring out is just wasted money. In San Diego, where automated gates guard everything from Rancho Santa Fe estates to Chula Vista apartment complexes, that line matters more than in most markets. This Gate Repair guide draws it precisely, based on what we’ve seen across thousands of service calls. You’ll learn exactly which repairs you can handle this weekend, which ones require a licensed contractor under California law, and how to protect yourself either way.
Styles & brands we work with
Quick Answer
The DIY-versus-professional gate repair decision comes down to three thresholds: powered components with safety-sensor compliance (professional), simple mechanical fixes like latch alignment or hinge lubrication (DIY-friendly), and anything involving underground or high-voltage electrical work (professional, no exceptions). For a deeper look at pricing, see our Gate Repair Cost Breakdown: The San Diego Homeowner’s Reference for 2026. In San Diego, most homeowners can safely handle basic swing-gate adjustments and surface-level hardware fixes, but automated operator repairs, hydraulic systems, and UL 325 safety device work require professional expertise and, in many cases, a licensed contractor.
Table of Contents
- The Three Thresholds That Actually Decide DIY vs Professional
- Repairs You Can Legitimately DIY on a San Diego Gate
- The California Legal Line: C-10, C-61, and What the License Actually Covers
- UL 325 Safety Device Testing: Why This Is Not Optional
- Tool and Diagnostic Equipment Reality Check
- The Three DIY Repairs Most Likely to Cause Secondary Damage
- How to Document a DIY Repair Properly
- Common Mistakes to Avoid
- When to Call a Professional
- Frequently Asked Questions
- The Bottom Line
The Three Thresholds That Actually Decide DIY vs Professional
After years of repairing gates across San Diego, from coastal properties in La Jolla to inland communities in Escondido, we’ve learned to categorize every gate problem by three decision points. Skip the skill-level debate. Here’s what actually matters.
Threshold one: Is there electrical power involved? If the gate swings on hinges and you push it open by hand, you’re working in mechanical territory. Hinges, latches, wheels, tracks, alignment, lubrication. These are physical problems with physical solutions. The risk profile on a manual gate is primarily about weight and pinch points, not voltage or stored energy. That said, a 400-pound iron driveway gate leaning off its hinges is a crush hazard, and we still recommend knowing your limits.
Threshold two: Is the operator (the motor and control board) part of the problem? Automated gates from Ghost Controls, DoorKing, Elite, and Mighty Mule all run on control boards, limit switches, safety sensors, and either AC or DC motors. Once you’re inside that operator housing or touching the wiring that feeds it, you’re no longer fixing a gate. You’re diagnosing an electro-mechanical system that includes safety protocols. This is where the DIY-versus-pro line hardens.
Threshold three: Does the repair affect safety device function? UL 325 compliance governs automated gate safety in the United States. Photo eyes, edge sensors, reversing mechanisms, and entrapment protection all fall under this standard. If your repair touches any of these, or if you’re not sure whether it does, the gate becomes a liability question, not a home improvement project.
In our experience, the right question isn’t “Can I do this?” It’s “What am I actually touching, and what happens if I get it wrong?” Threshold two and three repairs answer that second question with outcomes that range from a dead control board to a gate that closes on a child or pet. We’ll get into what that means legally in a moment, but the short version is that San Diego homeowners should treat any powered gate work as professional territory. For urgent situations, review our Gate Repair Emergency Preparedness Guide for San Diego Homes.
Repairs You Can Legitimately DIY on a San Diego Gate
Let’s be honest about what the average competent San Diego homeowner can handle. These repairs don’t require specialized diagnostic equipment, don’t touch safety systems, and don’t carry meaningful liability exposure when done carefully. They save real money, usually $80 to $200 per call, and they’re satisfying in a way that hiring out never is.
1. Latch and catch alignment. A gate that won’t stay closed is usually a latch misalignment, not a structural problem. The post settles, the gate sags slightly, and the catch no longer lines up. You’ll need a level, a socket set, and about 30 minutes. Loosen the latch plate, reposition it, tighten. If the gate itself is sagging, see the hinge section below.
2. Surface hinge lubrication. Squeaking, sticking, or resistance when swinging usually means dry hinges. Use white lithium grease on metal-to-metal contact points, applied sparingly. Don’t use WD-40 as anything other than a cleaner, it’s a solvent that strips existing lubrication. We’ll cover lubrication mistakes in detail later because this is one of the most common self-inflicted problems we see in San Diego’s coastal salt air.
3. Wheel and track cleaning on sliding gates. Sliding gates accumulate sand, salt residue, leaves, and grit, especially near the coast in Ocean Beach, Pacific Beach, and Point Loma. Clean the track with a stiff brush, remove debris from the roller wheels, and check for flat spots. This is routine maintenance, not repair, and it prevents the bigger call later.
4. Cosmetic rust treatment. Surface rust on a wrought-iron gate is manageable with a wire brush, rust converter, and repainting. San Diego’s marine layer accelerates corrosion on unprotected metal. Catching it early with a DIY treatment is smart. Structural rust, the kind that compromises the frame or hinge mounts, is not DIY territory.
5. Replacing a manual gate lock or handle. If there’s no keypad, no card reader, no intercom wiring running through the lock, this is a straightforward hardware swap. Match the hole spacing and you’re done.
Every one of these repairs shares the same profile: mechanical, visible, reversible, and low-consequence if imperfect. That’s the DIY lane.
The California Legal Line: C-10, C-61, and What the License Actually Covers
This is where most gate repair guides go quiet, and it’s the section that matters most for liability. California regulates gate installation and repair through the Contractors State License Board (CSLB), and the license classifications apply to specific scopes of work.
Under California law, any work that involves connecting a gate operator to a building’s electrical system falls under the C-10 electrical contractor classification. That means running new conduit, tapping into a panel, or adding a dedicated circuit for a gate operator is licensed electrical work. A homeowner doing their own electrical work on their own single-family residence is technically exempt from holding a license, but that exemption disappears the moment the work is done on a rental property, an HOA common area, or any commercial property. In San Diego, that covers a huge share of the market, from rental condos downtown to HOA-managed communities in Scripps Ranch and Carmel Valley.
The C-61 / D-28 (Doors, Gates, and Activating Devices) classification is the gate-specific license. It covers the installation, repair, and modification of gates and gate operators, including low-voltage wiring that stays on the gate side of the operator. Many homeowners assume any handyman can install a gate operator. On a single-family owner-occupied home, that’s often legally allowed. But if the gate is shared, HOA-controlled, or on a commercial property, the contractor must hold the appropriate license.
Here’s the part that surprises most San Diego homeowners. If an unlicensed repair is done on a gate that later injures someone, and the repair touched the operator wiring or safety sensors, the homeowner’s liability exposure is significant. Insurance companies investigate the repair history after an entrapment incident. A DIY repair or an unlicensed contractor’s work becomes a coverage problem. We’ve seen this play out in San Diego more than once, and it’s the reason we tell every customer the same thing: if you can’t verify who touched the safety wiring, you don’t know if the gate is safe.
The practical takeaway is simple. Mechanical repairs, DIY is reasonable. Anything electrical, even low-voltage visible wiring, know the legal line before you start. A free consultation with a licensed gate specialist costs nothing and tells you exactly where your project falls.
UL 325 Safety Device Testing: Why This Is Not Optional
UL 325 is the safety standard that governs automated gate systems in the United States. It’s not a suggestion and it’s not a best practice. It’s a recognized standard that manufacturers build to and that courts and insurance companies cite in entrapment injury cases. If you own an automated gate in San Diego, you should understand what UL 325 requires and how it applies to any repair you or a contractor performs.
The standard mandates entrapment protection on all automated gates. That means two independent means of protection on most installations: a primary entrapment sensor (usually photo eyes or contact edges that detect obstruction and reverse the gate) and a secondary means (usually an inherent reversing mechanism built into the operator, like current sensing). The exact requirement depends on the gate type and installation date, but the core principle holds: the gate must detect an obstruction and stop or reverse before causing injury.
Here’s what homeowners need to know, even after a professional repair.
- Verify the photo eyes are functioning. Block the beam with a solid object and confirm the gate reverses or remains open. Don’t just check that the light is on, actually test the response.
- Test the reversing mechanism. Place a rigid object in the gate’s path and let the gate contact it. The gate should stop and reverse within two seconds. If it doesn’t, the force setting is too high or the reversing sensor is defective.
- Check for audible or visual alerts. UL 325-compliant operators installed after 2016 have specific alert requirements. If your operator is silent during movement and you’re not sure of the installation date, ask a specialist to verify compliance.
- Never disable a safety sensor to make the gate work. We see this regularly, someone bypasses a photo eye because it keeps triggering falsely, and the gate keeps running. That one bypass converts a nuisance into a liability, and it’s exactly the kind of thing an insurance investigator looks for after an incident.
The reason this section matters in a DIY guide is that many well-intentioned homeowner repairs inadvertently affect safety compliance. Replacing an operator’s control board without recalibrating the force settings, for example, can result in a gate that no longer reverses properly. It works, yes. It’s safe, no. And the homeowner has no way to know.
In San Diego, where automated gates are common on everything from single-family driveways in Poway to commercial lots in Miramar, this standard is woven into the fabric of the local market. If your gate operator is more than ten years old and you’ve never had a UL 325 compliance check, that’s a conversation worth having with a specialist before the gate becomes a problem.
Tool and Diagnostic Equipment Reality Check
The YouTube version of gate repair is deceptively clean. The video shows a multimeter reading, a quick splice, and a working gate. What it doesn’t show is the diagnostic sequence that got to that splice, or the equipment required when the problem isn’t obvious.
A proper gate diagnosis for an automated system typically requires:
- A digital multimeter capable of reading AC and DC voltage, continuity, and resistance. Not a $20 hardware store special; something that reads accurately at low voltages where most control boards operate.
- A clamp meter for measuring motor current draw. This tells you whether the motor is working harder than it should, which often signals failing bearings or a misaligned track.
- Access to the manufacturer’s diagnostic codes. DoorKing operators use specific LED blink patterns to signal faults. Elite and Ghost Controls boards have their own diagnostic indicators. Without that documentation, which is often not in the homeowner manual, you’re guessing.
- High-limit amperage testing equipment to verify the operator’s force settings meet UL 325 requirements. This isn’t a tool most homeowners own, and it’s the difference between a gate that opens and a gate that’s safe.
- Structural measuring tools: levels, calipers, and sometimes a laser for checking post alignment on gates that bind mid-swing.
The reality is that most gate problems we see in San Diego are not diagnosable from a visual inspection alone. A gate that’s intermittent, that works sometimes and not others, may have a failing capacitor, a corroded connector, or a control board with a cracked solder joint. Finding that requires the diagnostic equipment and testing sequence above. Guessing without it usually means replacing parts one at a time until the problem goes away, or worse, installing a new board into a system with an underlying wiring fault and burning out the replacement too.
We’ve also seen the opposite side of the coin: homeowners who bought diagnostic equipment, watched the tutorials, and spent ten hours troubleshooting a problem a specialist would have found in 45 minutes. Time is a cost too, and it’s worth factoring into the DIY-versus-pro calculation. Explore our more guides & resources to help decide.
The Three DIY Repairs Most Likely to Cause Secondary Damage
Some repairs seem straightforward and turn out to be the most expensive mistakes. In San Diego specifically, we regularly see three DIY attempts that cause more damage than the original problem.
1. Using the wrong lubrication product. This is the single most common self-inflicted wound on San Diego residential gates, especially in coastal and canyon areas where the air is salty and the gates accumulate corrosion. Homeowners grab WD-40 or a penetrating oil, spray it on hinges and rollers, and call it done. Penetrating oils displace moisture, no question, but they also dissolve the heavier lubricants. Within weeks, the hinges are dry again, and now they’ve also lost any original grease. The correct approach is a white lithium grease or a purpose-made gate lubricant applied after cleaning. It’s a small thing, but we see it so often in the older neighborhoods of North Park and Mission Hills that it’s worth stating plainly.
2. Overtightening travel limit adjustments. Travel limits control how far a gate open operator travels before stopping. The homeowner logic is reasonable: if the gate is hitting too hard at the limits, tighten them down. But overtightening puts the operator’s gearbox under constant strain. The gate slams into the stop instead of settling against it, and over weeks or months, the gears strip. A stripped gearbox on a Ghost Controls or Mighty Mule operator is a $400 to $700 repair. The correct fix was a $0 force adjustment. Travel limits control travel, not force, and the two get confused constantly.
3. Splicing ground loop detector wiring. Ground loops are the buried wires that detect a vehicle’s metal mass and trigger the gate to open automatically, common on larger San Diego properties with long driveways in areas like Rancho Bernardo and Alpine. When a ground loop stops working, the natural homeowner impulse is to dig up the splice point and reconnect it. The problem is that ground loop detectors are tuned to the specific inductance of the wire loop, and a poorly made splice changes that reading. The detector either fails to sense vehicles or, more dangerously, senses them incorrectly. Proper ground loop repair requires matching wire gauge, waterproof connectors, and re-tuning the detector after the splice. It looks simple; it isn’t.
These three repairs share a common theme. They look mechanical and manageable, but each one has a technical subtlety that’s invisible without specific knowledge. That’s the gap between YouTube confidence and on-the-ground reality.
How to Document a DIY Repair Properly
If you decide to proceed with a DIY repair, you can protect yourself by documenting it the right way. This matters for three reasons: warranty claims if the gate operator fails later, resale if you sell the property and need to show maintenance history, and insurance if something goes wrong and you need to demonstrate what was actually touched.
Here’s the documentation process we recommend, based on what we’ve seen succeed and fail in real San Diego claims and resale transactions.
- Before photos. Take clear photos of the gate from both sides, the operator housing, the hinges, the latch, and any wiring connections you’ll touch. These establish the condition before your work.
- Process photos. Photograph each step: the part removed, the part installed, the tool used, the wire connection before and after. If you’re replacing a component, keep the old part and photograph it next to the new one.
- Parts receipt. Keep the receipt from wherever you bought the replacement part. Note the brand, model number, and the date of purchase. If it’s a DoorKing or Elite part, the serial number should also be recorded.
- Written log. A simple note with the date, the problem you observed, what you did, and the result. This doesn’t need to be long; a few sentences is enough. The value is that it shows a deliberate, documented process rather than improvisation.
- Post-repair testing. Film the gate completing a full open and close cycle after your repair. If you touched anything electrical, also film the safety sensor test: blocking the photo eye and confirming the gate reverses.
This documentation doesn’t convert an unsafe repair into a safe one, but it does two things. It creates a record that protects you in a dispute, and it forces you to pay attention to detail during the work, which catches many mistakes before the gate goes back into service.
One additional note for San Diego specifically. If your property is in an HOA, check the CC&Rs before doing any gate work that changes the gate’s appearance or function. Many HOAs in communities like Del Cerro, Tierrasanta, and Scripps Ranch require written approval for gate modifications, including operator swaps, and a DIY repair done without that approval can trigger a fine or a forced removal.
Common Mistakes to Avoid
- Treating travel limits and force settings as the same thing. Travel limits control distance. Force settings control the pressure the gate applies before reversing. Confusing the two causes stripped gears, damaged operators, and unsafe gates. Adjust one at a time and test after each change.
- Using penetrating oil as lubricant. WD-40 and similar products displace moisture, but they strip the heavier grease that hinges and rollers need. The result is a gate that feels fixed for two weeks and then gets worse. Use white lithium grease or a dedicated gate lubricant.
- Bypassing a safety sensor to stop false triggers. A photo eye that keeps false-triggering is misaligned or obstructed, not broken. Disconnecting it to make the gate work converts a nuisance into a real entrapment hazard, and it’s visible to any insurance investigator after an incident.
- Replacing the control board without checking upstream wiring first. A new board installed into a system with a shorted wire or a failing capacitor will burn out just like the old one. Diagnose the full circuit before buying parts.
- Ignoring the gate’s weight when working alone. A sagging iron gate in the newer developments of Eastlake or Otay Ranch can weigh 300 pounds or more. Attempting hinge replacement without proper support has caused crush injuries. Use jack stands or blocking, and never let the gate hang unsupported while bolts are out.
- Skipping the HOA approval step. San Diego has more HOA-governed communities than almost any other metro area. Gate modifications, especially operator swaps or visible hardware changes, often require written approval. The repair itself may be fine, but the HOA violation isn’t worth skipping the paperwork.
- Assuming a warranty covers DIY-related failures. Most gate operator warranties from brands like Mighty Mule and Ghost Controls exclude damage caused by improper installation or modification. A DIY repair gone wrong voids coverage, and the replacement cost is now entirely on you.
When to Call a Professional
If your gate touches any of these scenarios, stop and call a specialist before you make it worse. The operator won’t respond, and you’ve already checked the breaker and the remote batteries. The gate reverses unpredictably or doesn’t reverse when it should. You smell burning near the motor or the control board shows scorch marks. The gate is sagging badly enough that you can see light between the hinge plate and the post. The gate is on a shared property, HOA common area, or commercial lot. The repair involves the buried wiring, the ground loop, or the safety sensors. Electric gate repair in San Diego requires specialized diagnostic equipment and UL 325 compliance testing that no reasonable DIY approach provides. Gate repair services from San Diego Gate Company include free estimates in San Diego, call (877) 517-5469 to schedule yours.
Frequently Asked Questions
Basic mechanical repairs like latch alignment or hinge lubrication typically run $80 to $200. Operator diagnostics and control board replacement usually range from $250 to $700 depending on the brand, with DoorKing and Elite commercial operators at the higher end of that range. Full operator replacement runs $1,200 to $3,500 installed. Call San Diego Gate Company at (877) 517-5469 for a free estimate on your specific gate.
Legally, a homeowner can perform low-voltage electrical work on their own single-family, owner-occupied property, but the liability and safety risks of UL 325 compliance make it a bad idea for anything beyond mechanical fixes. If the gate is on a rental, HOA, or commercial property, a licensed contractor is required.
Travel limits control the distance the gate operator travels before stopping. Force settings control the pressure the gate applies before reversing. Adjusting travel limits when the problem is force, or vice versa, damages the operator and creates entrapment risk.
Emergency mechanical failures can often be addressed same-day depending on call volume and the specific problem. Electrical and operator diagnostics may take longer if parts need to be ordered. Call (877) 517-5469 to describe your issue and get an honest timeline.
Most single-family residential gate operator replacements don’t require a city permit if the electrical connection point isn’t moved. However, HOA approval is frequently required, and commercial properties have different requirements. Check both before work begins.
Does San Diego Gate Company install gate installation work?
Yes. We handle full gate installation, from manual swing gates to complete electric and automated gate systems across San Diego County, including new construction and replacement installations. Estimates are free.
The Bottom Line
The DIY-versus-professional gate repair decision isn’t about your skill level. It’s about the threshold you’re crossing. Mechanical repairs on manual gates, surface hardware, cleaning, and routine maintenance are DIY-appropriate and worth doing yourself. Anything involving the operator, the wiring, the safety sensors, or the ground loop crosses into territory where the risks, both safety and liability, outweigh the savings. And in San Diego specifically, where automated gates are everywhere from suburban driveways to commercial lots, the stakes are higher than most places. Document your work if you DIY. Know the legal line if it involves electricity. And when you’re not sure, get a free professional opinion before you touch anything.
Written by the team at San Diego Gate Company, serving San Diego since 2018.
See the difference
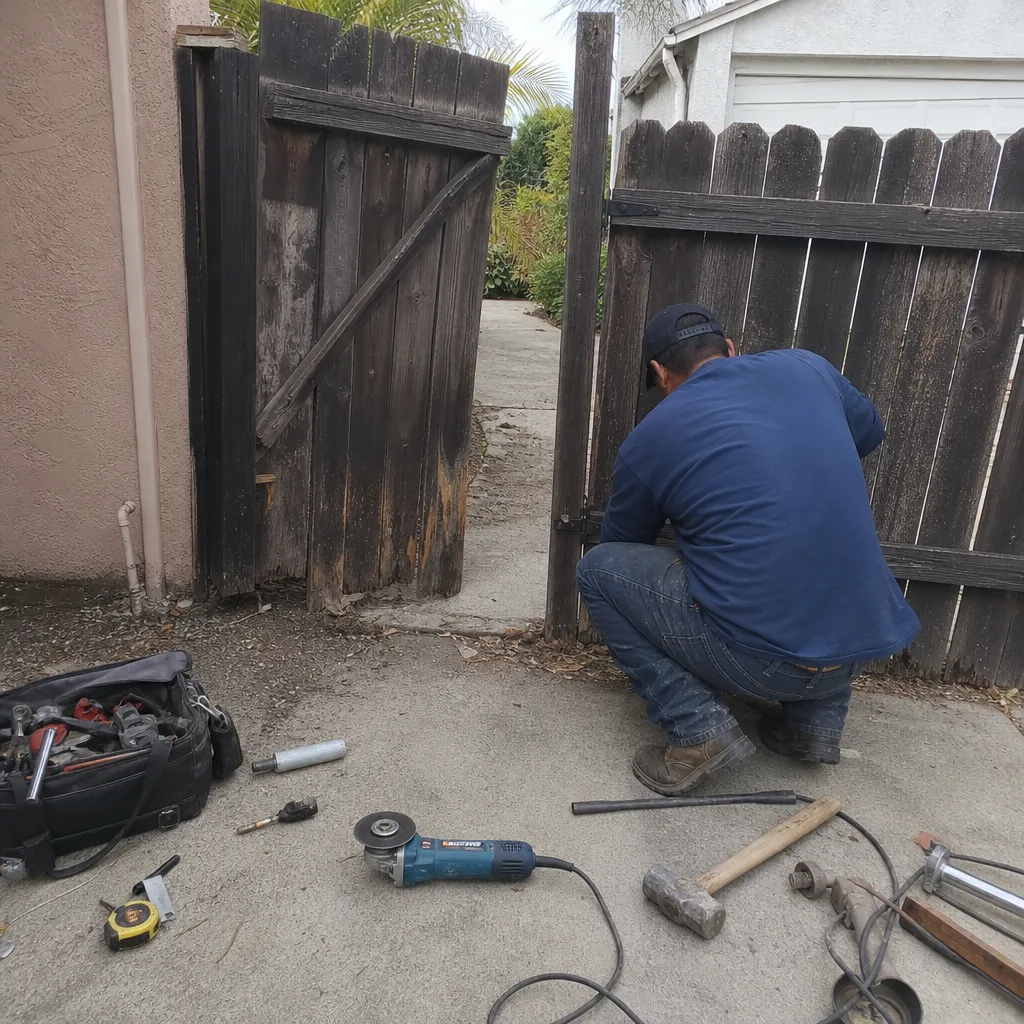 Before
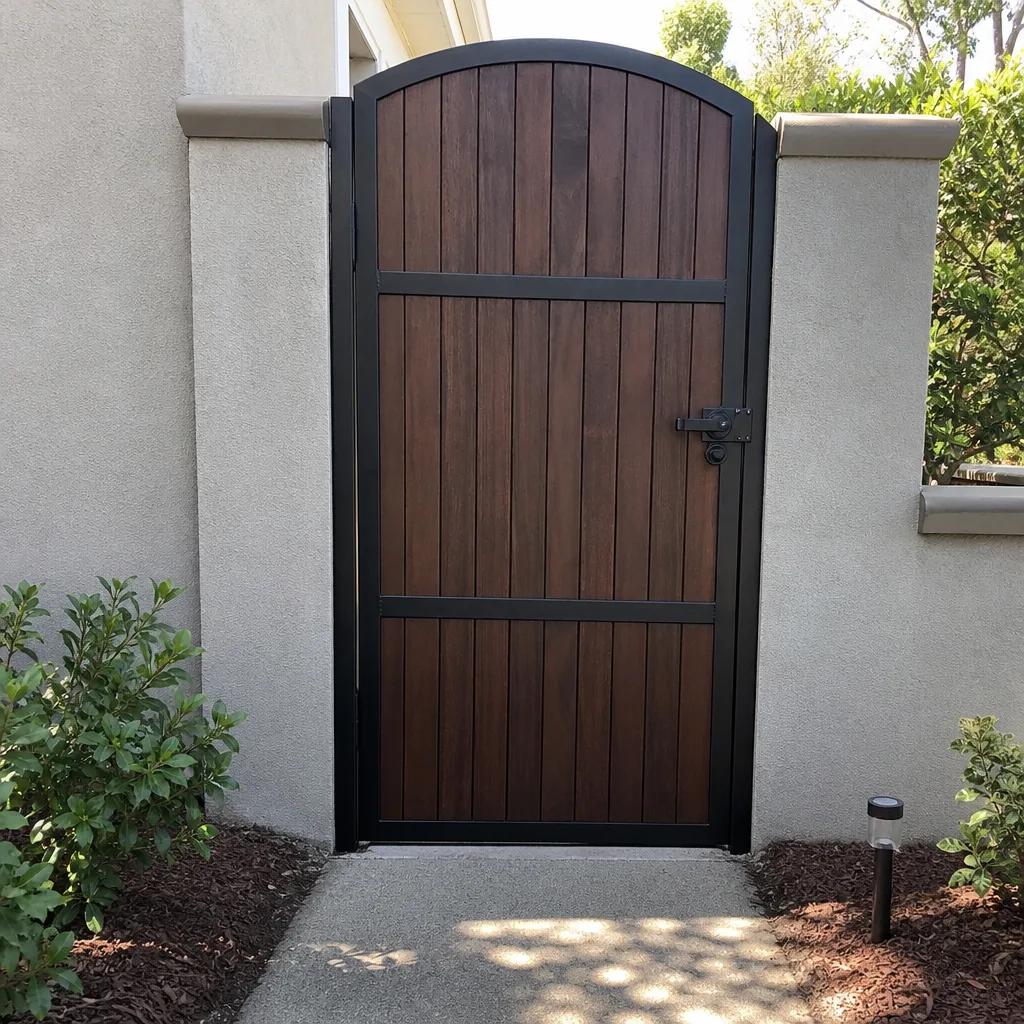 After
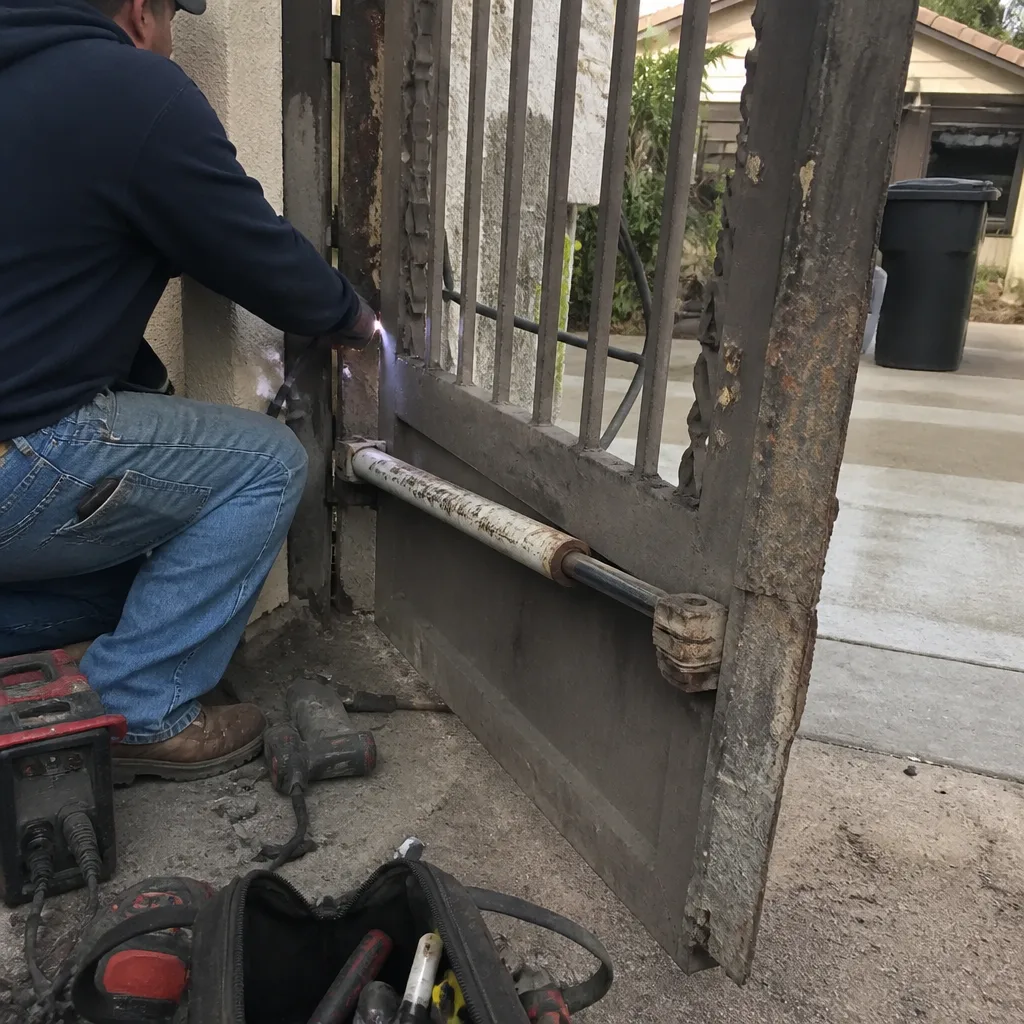 Before
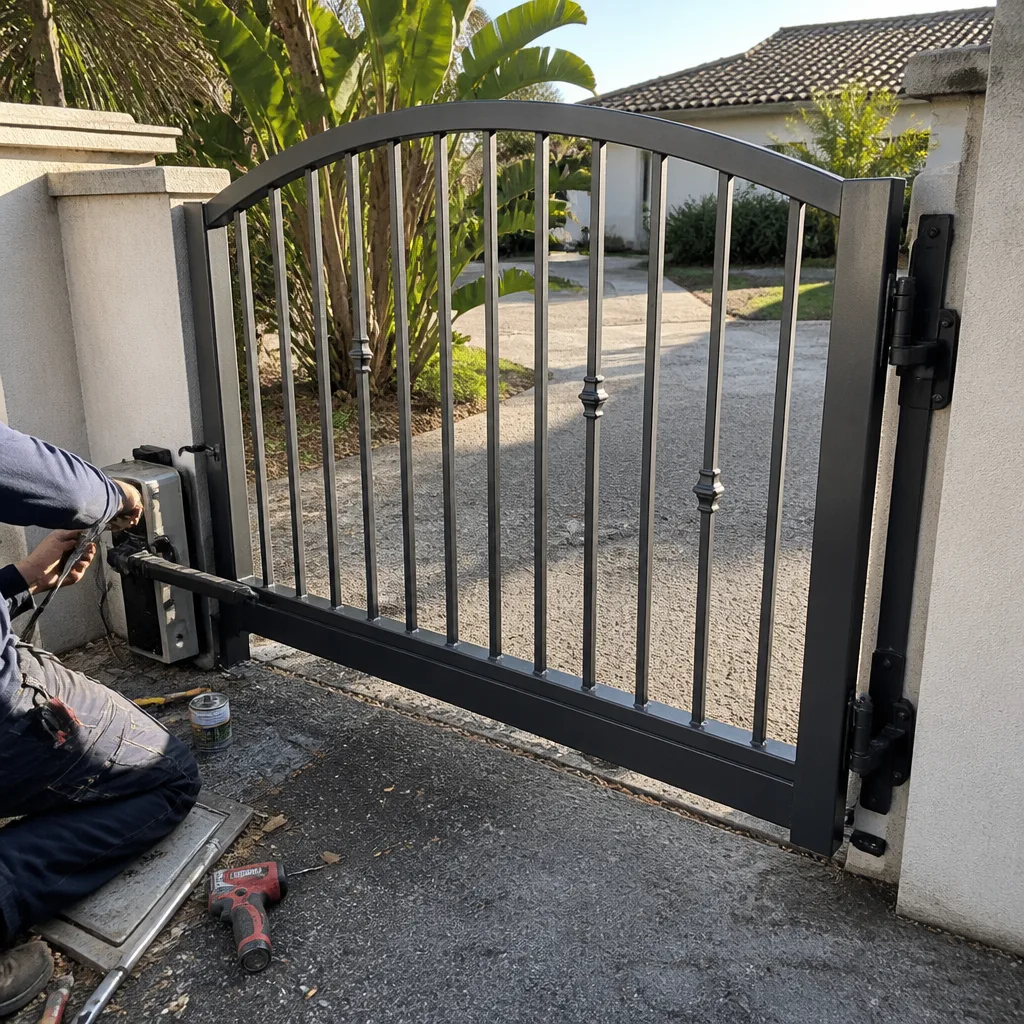 After
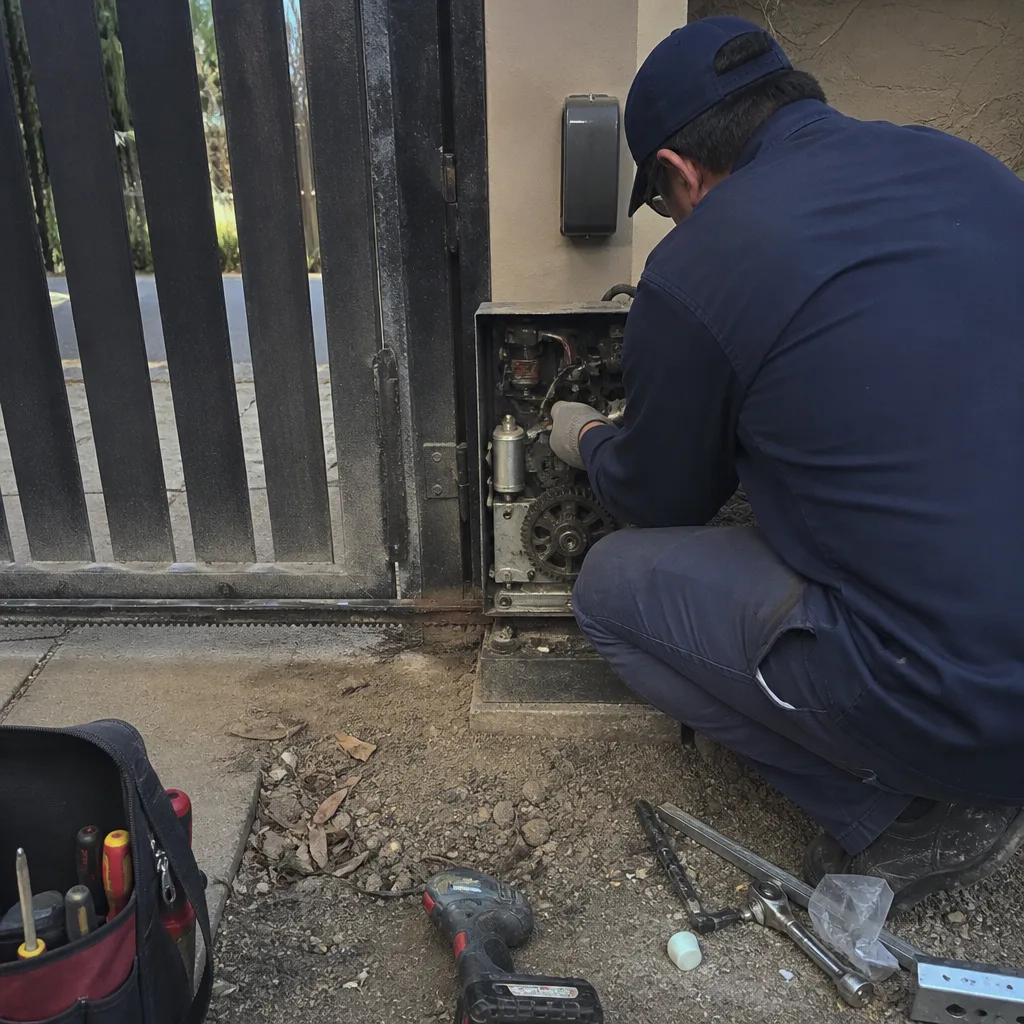 Before
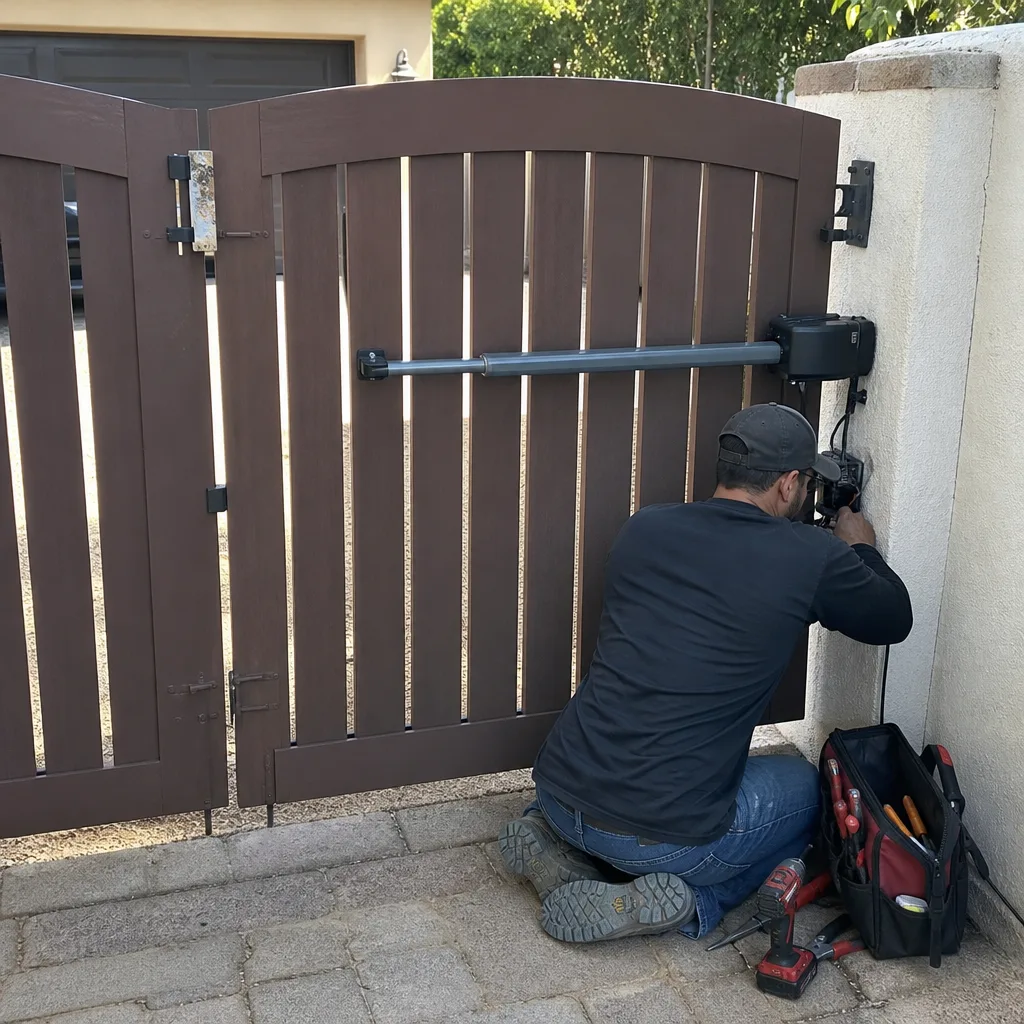 After