

Last updated October 31, 2026
 Wrought iron
 Wood & steel frame
 Farm & ranch
 Sliding driveway gates
 LiftMaster operators
Free on-site gate assessment - hinges, posts, and your LiftMaster or Nice gate operator checked before anything is quoted
The assessment is free and the quote is the invoice.
Get your free estimateGate Repair Troubleshooting: Common Problems and How to Fix Them
A gate that refuses to open isn’t a gate problem 40% of the time. It’s a sensor, a remote, or a power supply issue that a homeowner can resolve in under ten minutes without ever touching the gate itself. We’ve spent years running service calls across San Diego, from Rancho Bernardo to Chula Vista, and we see the same pattern repeat: someone assumes the worst, schedules a costly repair, and then watches us swap a nine-volt battery. This guide walks you through the diagnostic sequence we actually use on-site, in the order we use it, so you can either fix the problem yourself or give your repair company precise information before they arrive. You’ll learn how to read operator error codes, isolate sensor failures with nothing but tape and a phone flashlight, and identify what a grinding noise really means versus a click that does nothing.
Quick Answer
Gate repair troubleshooting starts with the power source, then moves to the operator control board, then to the mechanical components, in that exact order. Most residential gate failures trace to three non-mechanical culprits: dead remote batteries, tripped GFCI outlets, or misaligned photo-eye sensors. Before calling our Gate Repair services in San Diego, check power to the operator, swap the remote batteries, and clear debris from the sensor path. If the gate still won’t move or makes grinding, clicking, or humming sounds without movement, you likely need a specialist.
Styles & brands we work with
Table of Contents
- The Power Source: Where Every Gate Diagnosis Starts
- How to Read Operator Error Codes Without the Manual
- The Three Sensor Failure Modes That Mimic Operator Failure
- What That Sound Actually Means: Grinding, Clicking, and Humming
- Mechanical Problems: Hinges, Wheels, and Track Alignment
- Remote and Keypad Diagnostics for Manual and Electric Gates
- How San Diego Climate and Coastal Air Affect Gate Components
- Electrical Safety and When Not to Touch Anything
The Power Source: Where Every Gate Diagnosis Starts
We start every gate repair call at the power source, not at the gate itself. That’s because a gate that won’t respond is frequently a gate that simply has no electricity reaching the operator. Residential electric gates in San Diego typically plug into a standard 110-volt outlet via a transformer, or they’re hardwired to a dedicated circuit. The first thing to check is whether the outlet is live. If the operator has a GFCI outlet, and many outdoor installations do, the outlet may have tripped silently during rain or a power surge. Press the reset button on the outlet itself, then test the gate again.
Next, trace the low-voltage wire from the transformer to the operator. This wire is often buried just beneath landscaping and gets cut by shovels, edging tools, or even rodent activity. In coastal San Diego neighborhoods like La Jolla and Pacific Beach, salt air accelerates corrosion on exposed connections, which is a year-round reality rather than a seasonal issue. If the transformer shows a green indicator light but the operator shows no sign of life, you likely have a broken or corroded low-voltage line. That’s a fixable problem, but it requires locating the break, which is easier with a multimeter and a technician who knows what resistance reading to expect.
For solar-powered gate operators, the power source question shifts to sunlight exposure and battery health. A gate that works in the afternoon but fails in the morning often has a battery that no longer holds a full charge. San Diego’s inland valleys get intense summer sun, but a shaded installation under a tree canopy may never produce enough wattage to keep the battery topped off. If you have a solar operator and the gate has been getting progressively slower or more intermittent, the battery is the prime suspect.
How to Read Operator Error Codes Without the Manual
Most modern electric gate operators display error codes through a blinking LED on the control board or an LCD screen. The manual tells you what each code means, but a surprising number of San Diego homeowners have long since misplaced that manual. Here’s how to interpret the most common codes on three brands we service frequently.
LiftMaster operators use a diagnostic LED that flashes a specific number of times between pauses. Two flashes typically indicates a photo-eye obstruction or misalignment. Three flashes generally points to a force reversal, meaning the gate met resistance and reversed direction. Five flashes often signals a limit switch issue, where the operator can’t determine the gate’s travel boundaries. Count the flashes carefully. The sequence repeats, so count through the full cycle twice to be certain.
FAAC operators display codes on the control board via LED indicators. A solid red LED on a FAAC board usually means power is present, while a blinking red LED often indicates a triggered safety input. FAAC boards label their terminals clearly, so if you’re comfortable opening the control box, look for LED states next to the safety device terminals. A constantly lit LED next to a photo-eye terminal means the sensor is seeing an obstruction, even if nothing appears to be in the gate’s path.
DoorKing operators use a combination of blinking LEDs and an LCD on newer models. A “SENSE” fault on a DoorKing display indicates the operator detected excess resistance, which could mean the gate has a mechanical bind or a failing capacitor. DoorKing also uses a “LOOP” indicator for vehicle detection loops. If the LOOP LED stays lit without a vehicle present, the loop wire may be damaged underground. That’s not a DIY repair, but knowing the code helps you describe the problem accurately when you call a San Diego electric gate repair specialist.
One caution: reading error codes is useful, but clearing them without fixing the underlying cause just forces the operator to re-detect the fault and stop again. That’s a cycle that can damage the control board over time. We’d rather have you call with the code in hand, or check our Gate Repair Warning Signs: A San Diego Homeowner’s Reference Guide for context, than clear it repeatedly and then call with a fully dead board.
The Three Sensor Failure Modes That Mimic Operator Failure
Here’s the frustrating part of gate repair troubleshooting: sensors fail in ways that look exactly like a dead operator. The gate won’t open, the remote does nothing, and you assume the motor gave out. In a significant percentage of cases, the operator is fine. The safety sensors are telling it to refuse to move, and it’s obeying. There are three primary failure modes to check before you spend money on an operator.
Mode one: physical obstruction or misalignment. Photo-eye sensors sit on opposite posts near the gate’s travel path. If one gets bumped by a trash can, a delivery vehicle, or a kid’s bike, the beam no longer reaches the receiver. The operator interprets this as an obstruction and refuses to open. Here’s the test: tape a smartphone to one sensor post with the flashlight turned on, aimed at the other sensor. Walk to the second sensor and confirm the beam is visible. If the beam is angled high, low, or blocked by a leaf, you’ve found the problem. Adjust the sensor, clear the debris, and test the gate again.
Mode two: dirty or sun-blinded sensor lenses. Dust, spider webs, and pollen build up on sensor lenses, diffusing the beam. Coastal San Diego has additional salt film to deal with. Clean both lenses with a dry microfiber cloth. But here’s a failure mode most guides miss: direct sunlight hitting the receiver lens at certain angles can blind it, especially in east-west facing installations during sunrise or sunset. If your gate fails only at specific times of day, sun-blinding is the likely culprit. The fix is a small shade hood over the receiver, or repositioning the sensor slightly.
Mode three: wiring or internal sensor failure. Sensors eventually fail internally, especially after years of exposure to San Diego’s temperature swings between coastal fog and inland heat. You can test a sensor by checking for a small indicator LED on the receiver. If neither sensor shows an LED, and the operator has power, the sensor circuit is dead. A technician can test whether the board is sending voltage to the sensor terminals. If the board is fine but the sensor doesn’t respond, replacing the sensor pair is the correct repair, and it’s far cheaper than replacing an operator.
What That Sound Actually Means: Grinding, Clicking, and Humming
When a gate fails, it usually tells you something through sound. Learning to report these sounds accurately saves time on the phone and helps a technician show up with the right parts. Here’s a field guide to the three sounds we hear most on San Diego service calls.
Grinding or metal-on-metal scraping. This is a mechanical sound, not an electrical one. The operator is working, but something in the drivetrain is fighting it. On slide gates, grinding usually means a bearing on the drive wheel or a roller on the track has failed. On swing gates, it’s often the hinge pin binding or the opener’s drive screw running dry. A gate that grinds but still moves should be serviced quickly. Continued grinding wears down parts that were originally cheap to replace, turning a $150 bearing job into a $900 opener replacement. The sooner you catch it, the less it costs.
Clicking without movement. A rapid, repetitive click when you activate the gate almost always points to a low battery in a solar or battery-backup operator, or a failing capacitor on an AC-powered unit. The capacitor is the component that gives the motor its initial surge to start turning. When it weakens, the motor tries to start, can’t, and the circuit clicks. Think of it like a car battery that only clicks when you turn the key. A single click per activation, especially from a DoorKing or BFT board, can indicate a stuck motor contactor or a blown fuse on the control board. If you hear one solid click and nothing else, stop pressing the remote and call for diagnosis, or read our How to Hire a Gate Repair Contractor in San Diego: A Step-by-Step Guide first. Repeated attempts can weld relay contacts and make the repair worse.
Humming but not moving. A low, electrical hum from the operator while the gate stays still is the motor receiving power but being physically unable to turn. This can be a seized bearing in the motor, a jammed gearbox, or a physical obstruction wedged in the gate’s travel path. Check for debris first: a branch, a rock, or a child’s toy in the track. If the path is clear and the hum continues, kill the power at the breaker to prevent motor burnout and call us. A humming motor that isn’t allowed to spin will overheat and die quickly.
Mechanical Problems: Hinges, Wheels, and Track Alignment
Once you’ve ruled out power, controls, and sensors, the problem is likely mechanical. Mechanical gate repair is where the most misinformation circulates. Here’s what actually matters on San Diego gates, where gravity, soil movement, and coastal humidity all play a role.
Swing gate hinges. A swing gate hangs on two or three hinges. Over years, the gate’s weight causes the hinge pins to wear, the post to shift, or the gate frame to sag. The symptom is a gate that scrapes the ground on the latch side, or binds at the top corner. You can confirm a hinge problem by lifting the gate from the free end. If you feel upward play, the hinges or pins are worn. Some homeowners try to compensate by tightening the hinge bolts, but that’s usually a stopgap. Worn hinge pins need replacement, and a sagging gate frame may need internal reinforcement, especially if the gate is steel and San Diego’s coastal air has been working on the welds.
Slide gate wheels and track. Slide gates ride on steel wheels along a metal track, or they use a cantilever design with rollers inside a supporting structure. The most common issue with wheel-track slide gates is a wheel that seizes. When one wheel locks up, it drags along the track instead of rolling, creating the grinding sound described above and leaving flat spots on the wheel. Track alignment matters too: San Diego’s expansive clay soils in the eastern suburbs expand and contract with moisture, shifting concrete pads slightly. That movement can misalign the track enough to make the gate bind at one specific point. If your slide gate stops at the same spot every time regardless of obstruction, the track has shifted.
Gate frame and post integrity. The structural components of a gate are the last stop in the diagnostic sequence. A gate that’s locked into an operator will eventually transfer stress into its own frame. Look for cracks in the weld joints, especially at the diagonal brace connections and where the opener arm attaches. On wooden gates, look for rot at the bottom rail and hinge-side stile. San Diego’s marine layer keeps wood damp in the mornings, and that dampness works into exposed end grain. These problems aren’t quick fixes, but catching them early prevents the gate from falling off its mounts entirely, which is both a safety hazard and a bigger bill.
For a full rundown of what mechanical fixes we handle daily in San Diego, the Gate Repair in San Diego page covers the scope in detail.
Remote and Keypad Diagnostics for Manual and Electric Gates
This is the section that saves the most money. If your gate stopped responding to the remote but the manual open button on the operator still works, the operator is fine. You have a control-device problem, not a gate problem. Here’s the diagnostic order.
- Swap the remote battery. Start here. A CR2032 or A23 battery costs a few dollars and takes two minutes to replace. Remotes in San Diego die regularly, and heat accelerates battery drain, especially if the remote lives in a car parked in the sun. If the remote has an LED, check whether it lights up when you press a button. No light usually means dead battery.
- Test the second remote. If you have two remotes and one works while the other doesn’t, the problem is isolated to that specific remote. Replacing or reprogramming the remote is straightforward, and any gate technician can do it in under five minutes.
- Check the keypad wiring or battery. Wireless keypads use batteries too. If the keypad beeps but doesn’t trigger the gate, or if the keypad is completely unresponsive, the battery or the antenna connection may be the culprit. Wired keypads can develop corrosion on the terminal connections, especially in areas with salt air like Coronado or Imperial Beach.
- Test the operator’s manual function. Almost every electric gate operator has a manual or “open” button on the operator itself, usually near the control board. If the gate opens from that button but not from any remote, the receiver antenna or control board’s receiver circuit has failed. This is a repairable issue on most brands including LiftMaster, BFT, and Linear.
- Check the antenna connection. If the gate only receives remote signals from ten feet away but previously worked from fifty, the antenna wire may be damaged or disconnected. The antenna is typically a thin wire protruding from the operator. Make sure it’s not curled, tucked behind metal, or chewed through by rodents.
Most remote and keypad fixes cost well under a service call fee when you can handle them yourself. When you can’t, a specialist can diagnose the receiver circuit and repair it without replacing the entire operator.
How San Diego Climate and Coastal Air Affect Gate Components
Every gate calls a specific environment home, and San Diego’s environment does particular things to gate hardware. Understanding these local wear patterns helps you prioritize maintenance and recognize problems early.
Coastal corrosion. From Ocean Beach up through Encinitas, salt air does to metal gates and operators what it does to every other outdoor metal surface: it accelerates oxidation. We see control boards with corroded terminal blocks, hinge pins that have fused to their housing, and gate frames with rust developing along the bottom rail where moisture lingers. Galvanized steel and powder-coated aluminum both resist corrosion, but the coating eventually wears at friction points, and that’s where the rust takes hold. If you live within three miles of the coast, inspect your gate hardware twice a year for rust bloom and treat it early.
Inland heat and UV exposure. The inland valleys, including Santee, El Cajon, and Ramona, get real summer heat that coastal neighborhoods don’t. That heat degrades plastic control board housings, fades keypad numbers, and makes batteries fail prematurely. Heat also causes expansion in metal gate frames, which can increase friction if clearances were tight to begin with. A gate that opens fine at 7 a.m. but binds at 3 p.m. in August may be experiencing thermal expansion rather than a mechanical failure.
Marine layer mornings. The fog that rolls into San Diego’s coastal and near-coastal neighborhoods every May and June morning means gate surfaces are wet for hours at a time. That moisture penetrates keypads, sensor housings, and non-sealed electrical connections. It’s why properly sealed junction boxes matter on gate installations, and why we see a spike in sensor and keypad failures every “June Gloom” season. If your gate acts up primarily in the morning and works fine by noon, condensation in a connection box is a strong suspect.
Soil movement in the eastern regions. San Diego County’s expansive soils shift with moisture content, and that movement affects gate posts and slide gate tracks. A gate that was perfectly plumb in January may be out of alignment in August after the clay soil has dried and contracted. If you notice your gate latching harder in late summer, the post may have moved slightly. This is common, it’s fixable, and it’s worth addressing before the misalignment damages the opener or the hinge assembly.
Electrical Safety and When Not to Touch Anything
Most of the troubleshooting in this guide is safe for a homeowner who can find the breaker box and swap a battery. But there’s a line, and crossing it without training can cause serious injury or turn a repairable problem into a full replacement. Here’s where that line sits.
AC line voltage is never DIY territory. If the operator is hardwired to a circuit rather than plugged into an outlet, do not open the junction box. The 110-volt or 220-volt connection inside can be fatal. Even if you’ve done household electrical work before, gate operators combine line voltage with a control board that you can damage by testing incorrectly. Kill the power at the breaker if you absolutely must work near these connections, but our honest recommendation is to call us instead.
Hydraulic operators are under pressure. Some residential and commercial swing gates use hydraulic operators rather than electromechanical ones. If the hydraulic fluid has leaked or the system is making irregular noises, do not attempt to refill or reseal the unit. Hydraulic systems under pressure can spray fluid with enough force to injure. We carry the right seal kits and fluid for the brands we service, and this is a repair we’d never hand to a homeowner.
Limit switch resets require precision. Limit switches tell the operator where the gate’s open and closed positions are. Setting them incorrectly doesn’t just mean the gate stops at the wrong spot; it can cause the gate to overtravel, which slams the gate into the post, damages the operator, or creates a pinch hazard. If your gate opens too far or closes too hard, the limit switches need adjustment, but get the sequence right the first time. Wrong limit settings are how we see otherwise-healthy operators get destroyed.
Gates are heavy and can move without warning. Even a manual gate that you’ve been operating for years can shift or drop suddenly if a hinge fails while someone is standing near it. When you’re troubleshooting, keep your body out of the gate’s travel path, and never let kids help with diagnosis. The force of a falling gate or a gate that starts moving unexpectedly can break bones or worse. The Gate Installation in San Diego page shows how we install systems with safety edges and proper clearances, and those safety features matter.
Common Mistakes to Avoid
- Replacing the remote before checking the battery. Every week we talk to a San Diego homeowner who bought a new remote online and still can’t open their gate. The new remote wouldn’t fix a dead battery in the old one, and now they’ve spent $80 for nothing. Spend $3 on a battery first.
- Resetting the breaker repeatedly instead of finding the trip cause. A breaker that trips once can be a fluke. A breaker that trips every time the gate activates is protecting you from a short, and resetting it resets your protection while the underlying short keeps heating up.
- Adjusting the limit switches without marking the original positions. We can usually restore limit settings, but it’s genuinely harder when someone has cranked the adjustment all the way in either direction with no record of where it started. If you’re going to experiment, mark the current positions with a permanent marker first.
- Lubricating everything with WD-40. WD-40 is a cleaner and water displacer, not a long-term lubricant. Applying it to hinges and rollers attracts dust, washes out the existing grease, and leaves the metal under-lubricated after a few weeks. Use a proper lithium or silicone grease, and keep it off the gate track itself.
- Ignoring a gate that’s getting slower. Gates don’t slow down for no reason. A slower-than-usual swing or slide is the gate telling you a bearing, hinge, or battery is degrading. Catching it at the slowing stage is almost always cheaper than catching it after it stops completely.
- Welding or reinforcing the gate frame while it’s still attached to the operator. Welding current through a gate frame that’s connected to an operator can fry the control board. Any structural welding should happen with the operator disconnected, and we see a handful of dead boards every year from this exact mistake.
- Assuming a broken gate means a broken operator. The most expensive mistake in this guide. The operator is the last component in the diagnostic chain, not the first. Power, sensors, remotes, and mechanical binds all fail before the motor usually does, and replacing an operator first is spending $1,200 to fix a $40 sensor pair.
See the difference
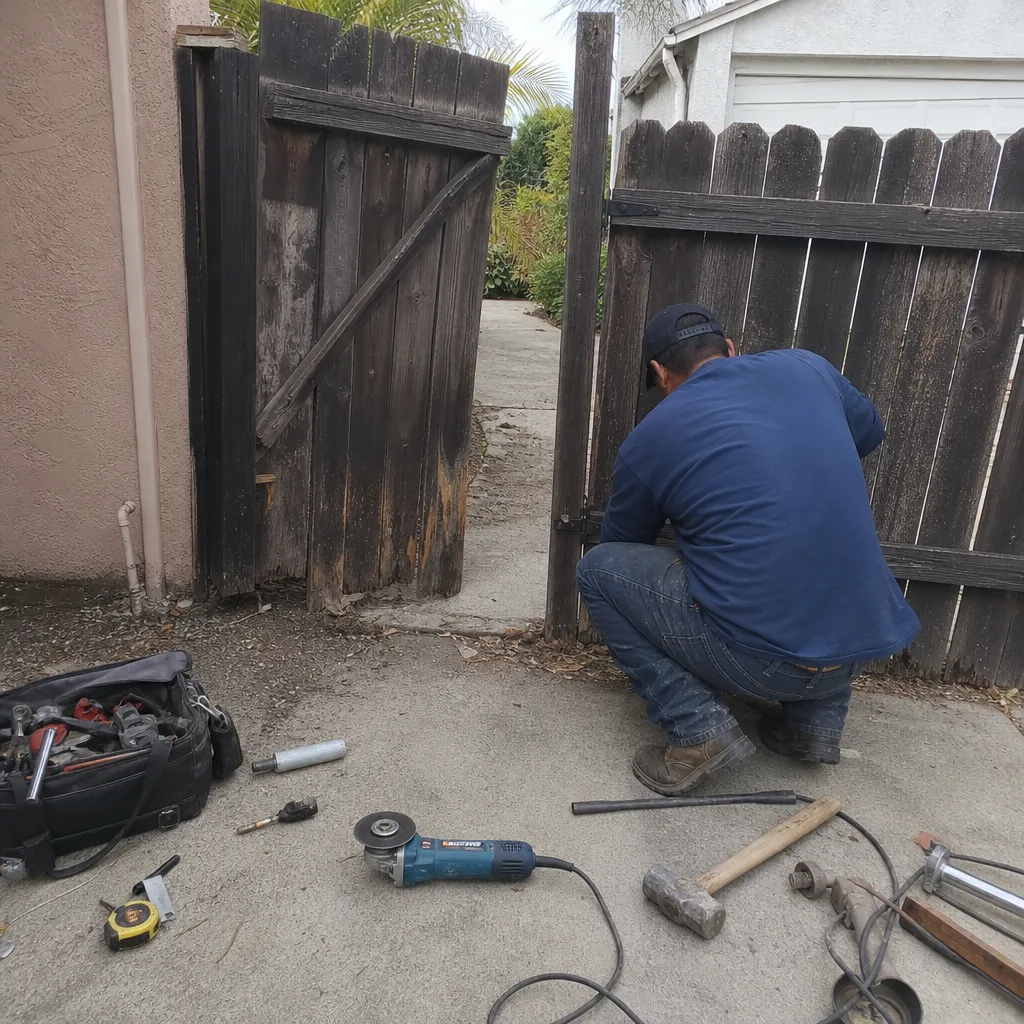 Before
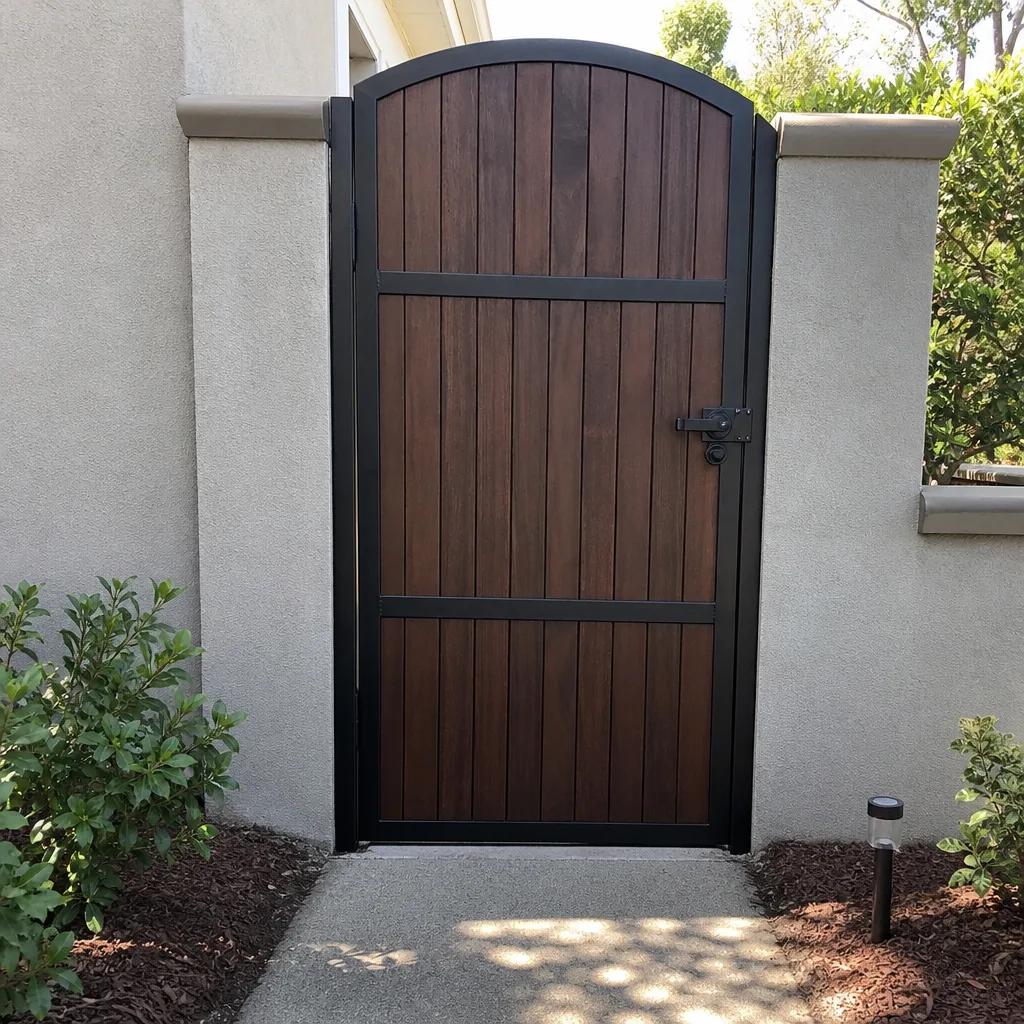 After
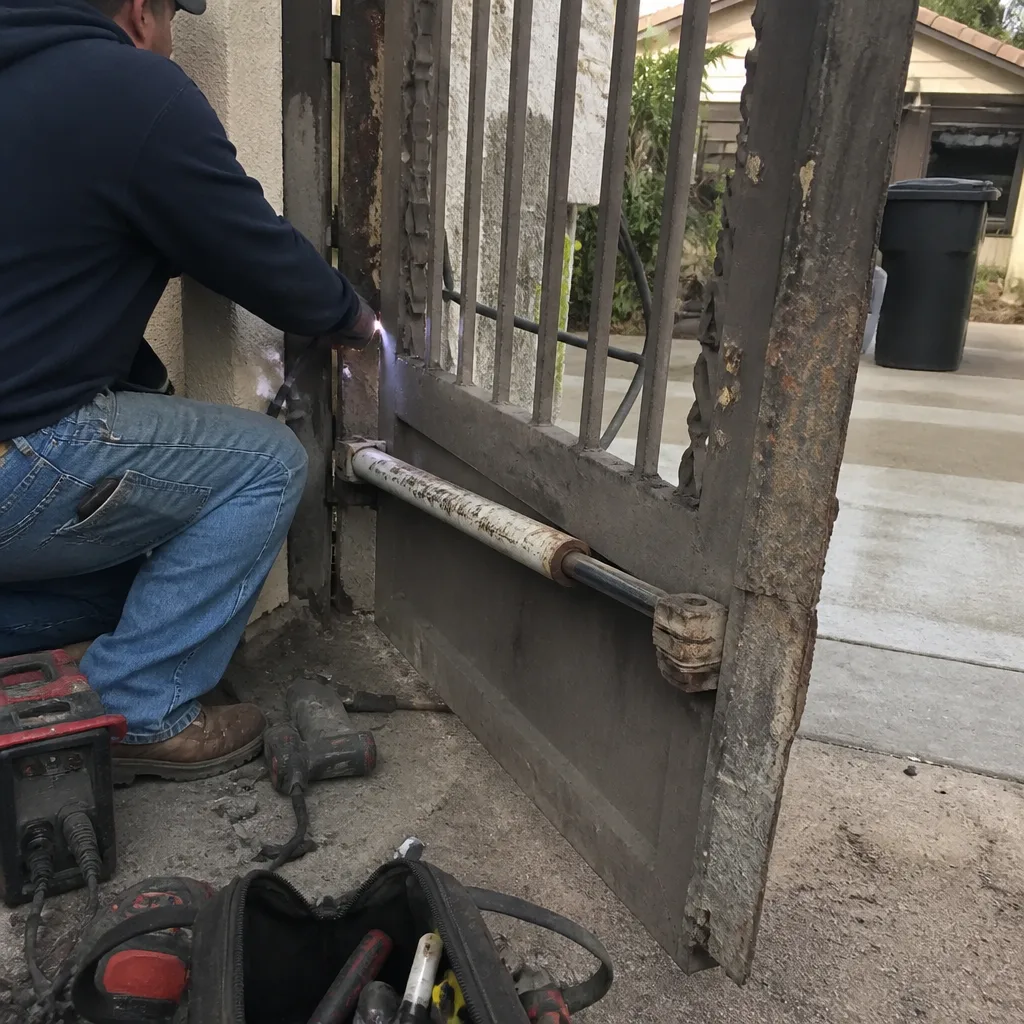 Before
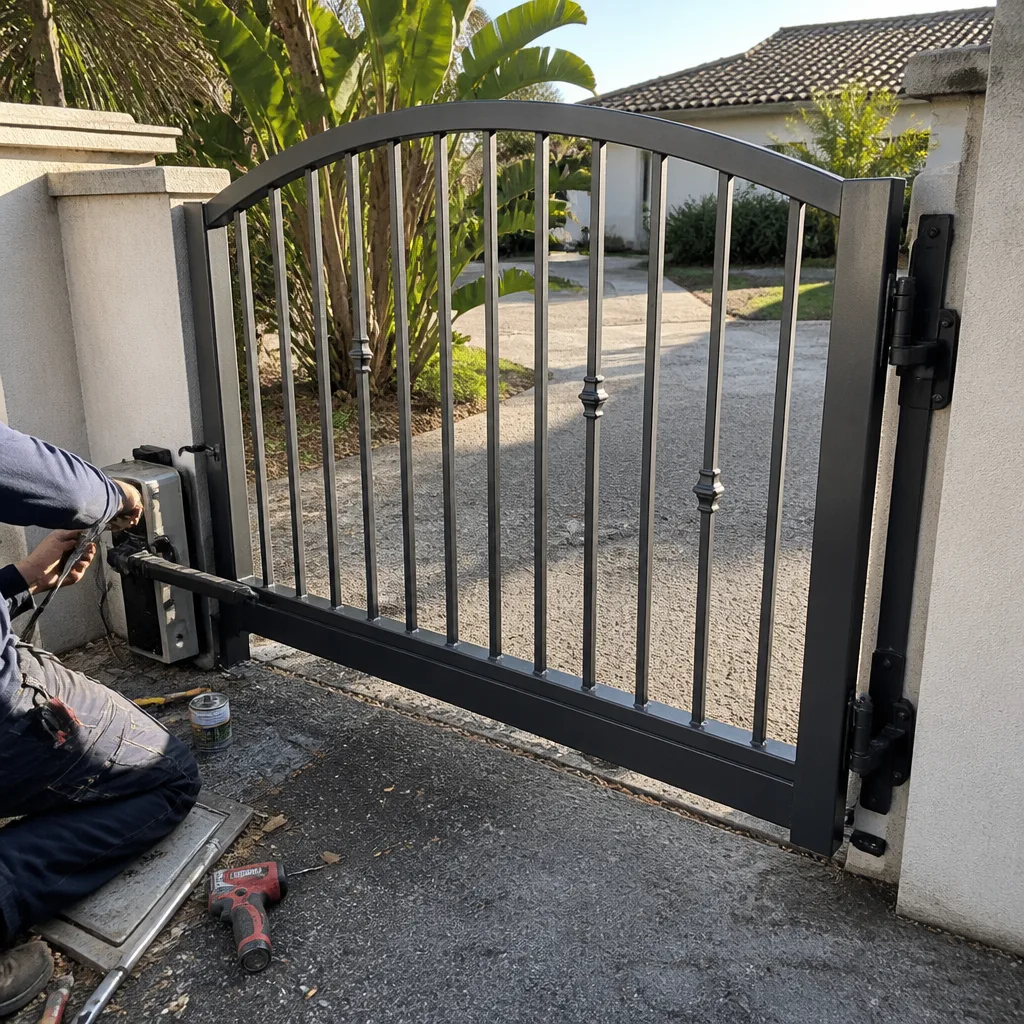 After
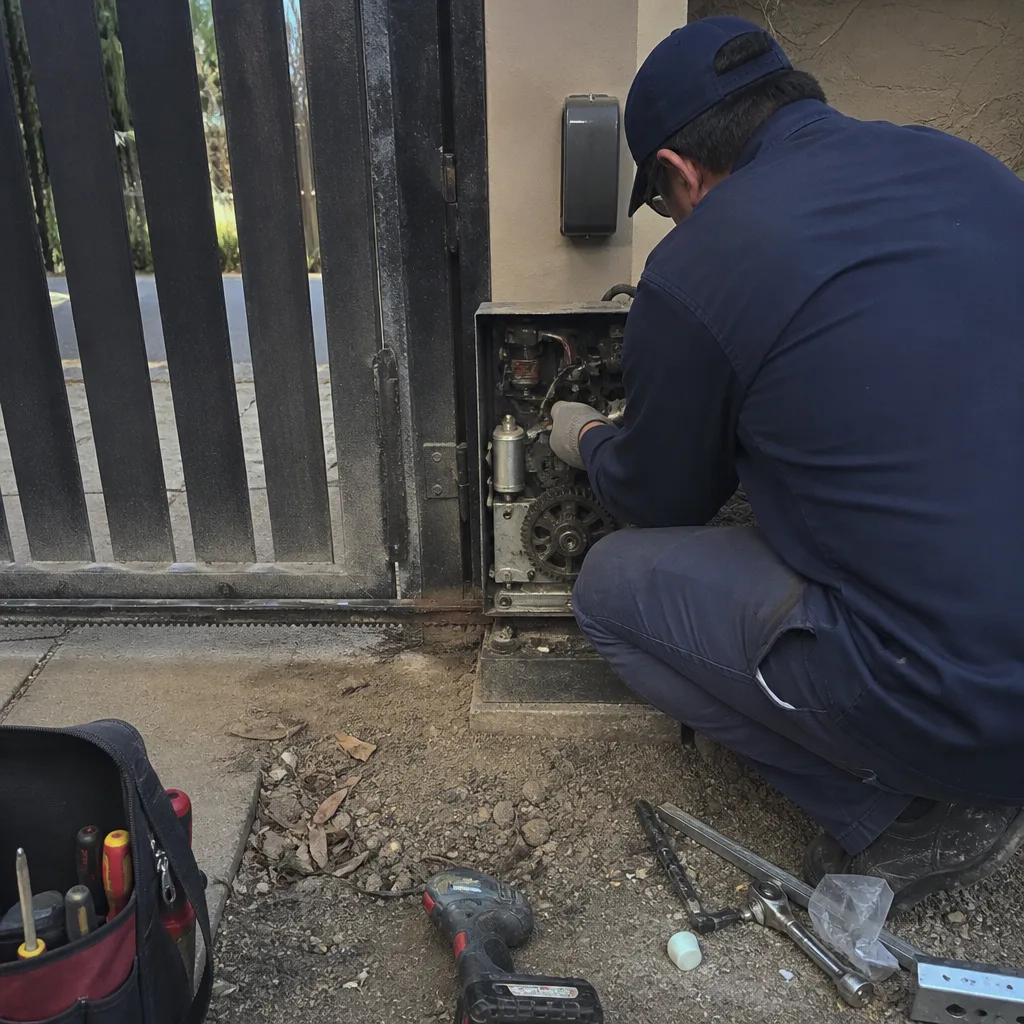 Before
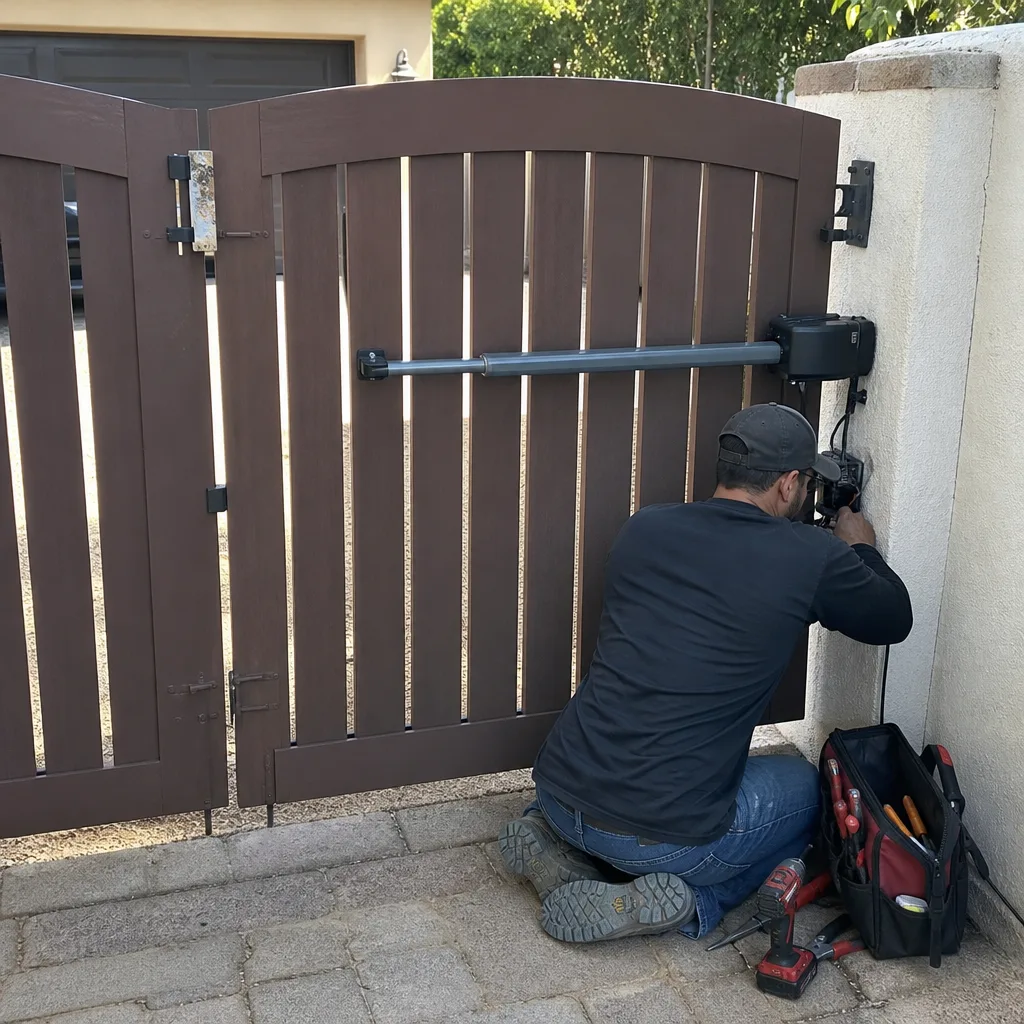 After
When to Call a Professional
Call a professional when the diagnostic sequence points to a component you’re not equipped to safely repair. That includes any hardwired electrical issue, a hydraulic operator problem, a control board that shows fault codes after power and sensors check out, or a gate that binds mechanically and requires hinge or track replacement. You should also call when the gate moves but makes noises that match the grinding or humming descriptions above; those are early warnings of a failing drivetrain, and the repair window is open right now. If the gate has fallen off its track, sagged visibly, or shifted against the post, that’s a structural problem requiring an immediate repair before someone gets hurt. San Diego Gate Company offers free estimates in San Diego, and we’re a gate-only shop. Call (877) 517-5469 and describe the symptom precisely using the language in this guide; it helps us show up with the right parts on the first trip. For more on what we cover day to day, start at the San Diego Gate Company home page.
Frequently Asked Questions
When a gate opens from the operator’s manual button but not from any remote, the operator and motor are working fine. The failure is in the remote receiver circuit, the remote battery, or the antenna connection. Replace the remote battery first, then test a second remote if you have one. If all remotes fail while the manual button works, the receiver on the control board may need repair or replacement, which is a job for a technician who can test the board on-site.
Gate repair costs in San Diego depend on what failed, but here are realistic ranges from hundreds of service calls across the county: sensor replacement typically runs $150 to $300, a new remote or receiver repair runs $80 to $250, hinge or bearing replacement runs $200 to $600 depending on gate weight, and a full operator replacement can run $900 to $1,800 for common residential models. The price is always quoted and agreed before any work starts. Call (877) 517-5469 for a precise quote on your specific gate.
Our repair schedule depends on the day and the part needed, but we prioritize failed gates that leave a property unsecured or trapped inside. If your gate won’t open at all and you can’t get a vehicle out, that’s an emergency, and we work to get a technician there as quickly as possible. Call (877) 517-5469 and we’ll tell you honestly when we can be there, and whether it’s likely to be a one-trip fix based on what you describe.
A grinding noise on a sliding gate almost always means a bearing on the drive wheel or a roller on the track has failed or is failing. The wheel is no longer rolling smoothly, and metal is dragging against metal. If you catch it early, the fix is typically a wheel or bearing replacement. If you let it grind for weeks, the failed part can damage the track and, eventually, the operator’s gearbox, turning a small repair into a large one.
We’re trained on nine major gate and access-control brands: LiftMaster, FAAC, BFT, Linear, Viking, Ghost Controls, DoorKing, Elite, and Mighty Mule. That covers the overwhelming majority of residential and commercial systems in the San Diego market. If your gate uses a brand outside that list, call us and we’ll tell you honestly whether we can diagnose it. We don’t push brand replacements, and we’d rather repair the system you own than sell you a new one.
Morning-only gate failures in San Diego usually point to condensation from the marine layer. Moisture collects in sensor housings, keypad enclosures, or non-sealed electrical junction boxes overnight, and the gate acts erratically until the sun burns the moisture off. If a gate works fine all afternoon and evening but fails before 10 a.m., moisture intrusion is the most likely cause, and sealing the affected connection usually fixes it.
The Bottom Line
Gate repair troubleshooting is a sequence, not a guess. Start at the power source, confirm the operator is getting voltage, rule out sensor false positives, diagnose by sound, and only then look at the mechanical components. Most gate failures aren’t operator failures at all, which means most gate problems don’t require a new operator. Knowing the diagnostic order and speaking the language of error codes and failure sounds puts you in control of the call: you’ll get an accurate quote, a faster repair, and a smaller bill. If you hit a wall in the sequence or don’t like what you find, call (877) 517-5469 and describe the symptom precisely. We’ll take it from there.
Written by the team at San Diego Gate Company, serving San Diego since 2018. For more guides & resources, visit our blog.